Sign up for uno
Language
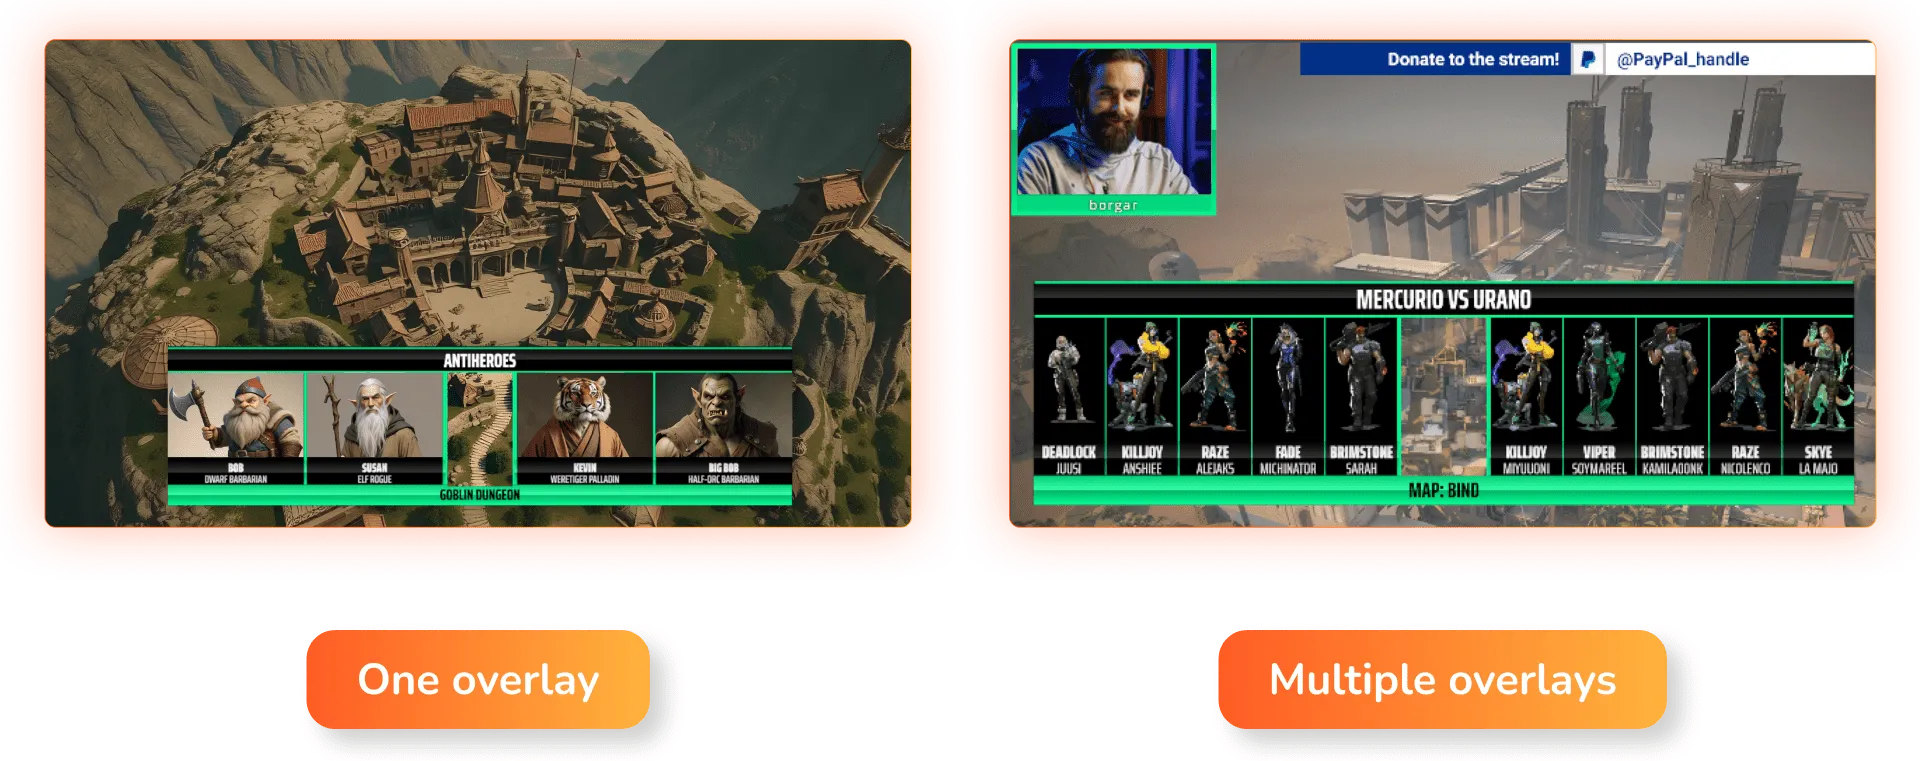
If you enjoy watching other people’s livestreams, you’ll see streamers using multiple overlays to keep you updated, highlight key information, and add personal flair to the way a stream looks. This could for example be webcam borders, sub or donation alerts, animated graphics, live bugs, or a mix of all! In this article, we’ll explore how to use overlays and easily control them while live streaming.
There are several streamers who live stream with no streaming graphics or overlays at all, and others who use highly stylized, flashy overlays. What you decide to add to your live stream screen depends on the audience you want to reach, and how you want your viewers to perceive you. However, there’s several benefits to using multiple overlays.

If you have never used overlays before, fear not! Uno overlays are super simple to use, with completely online controls that you can get up and running in a matter of minutes. Simply by signing up, you can use any of our overlays and customize colors, upload logos, and more – for free!
Uno overlays are compatible with your favorite streaming software, including OBS Studio, which is free and compatible with most devices. OBS is simple to use, and using overlays from uno makes the process even simpler, allowing you to effortlessly add multiple overlays within minutes.
1. Find your desired overlays on uno
Visit the uno library and browse through a whole bunch of free overlays to find the graphics you want for your stream. Uno offers easy-to-use, customizable overlays in categories such as Gaming, Just Chatting, Sport, Podcasts and much more.
2. Set up a scene in OBS
You’ll now want to set up a scene in OBS Studio.This is where your overlays, webcam feed, and any screen or game capture will eventually go. To do this, simply navigate to the bottom-left of OBS, and click the + icon in the Scenes panel. Alternatively, you can also right-click the Scenes panel and click “Add” on the dropdown menu that appears.

Still stuck on creating a scene? Check out our tips and tricks on creating your first OBS layout.
3. Easily drag overlays from uno into OBS
If you’re not sure how to add overlays to OBS Studio, uno has a simple solution.
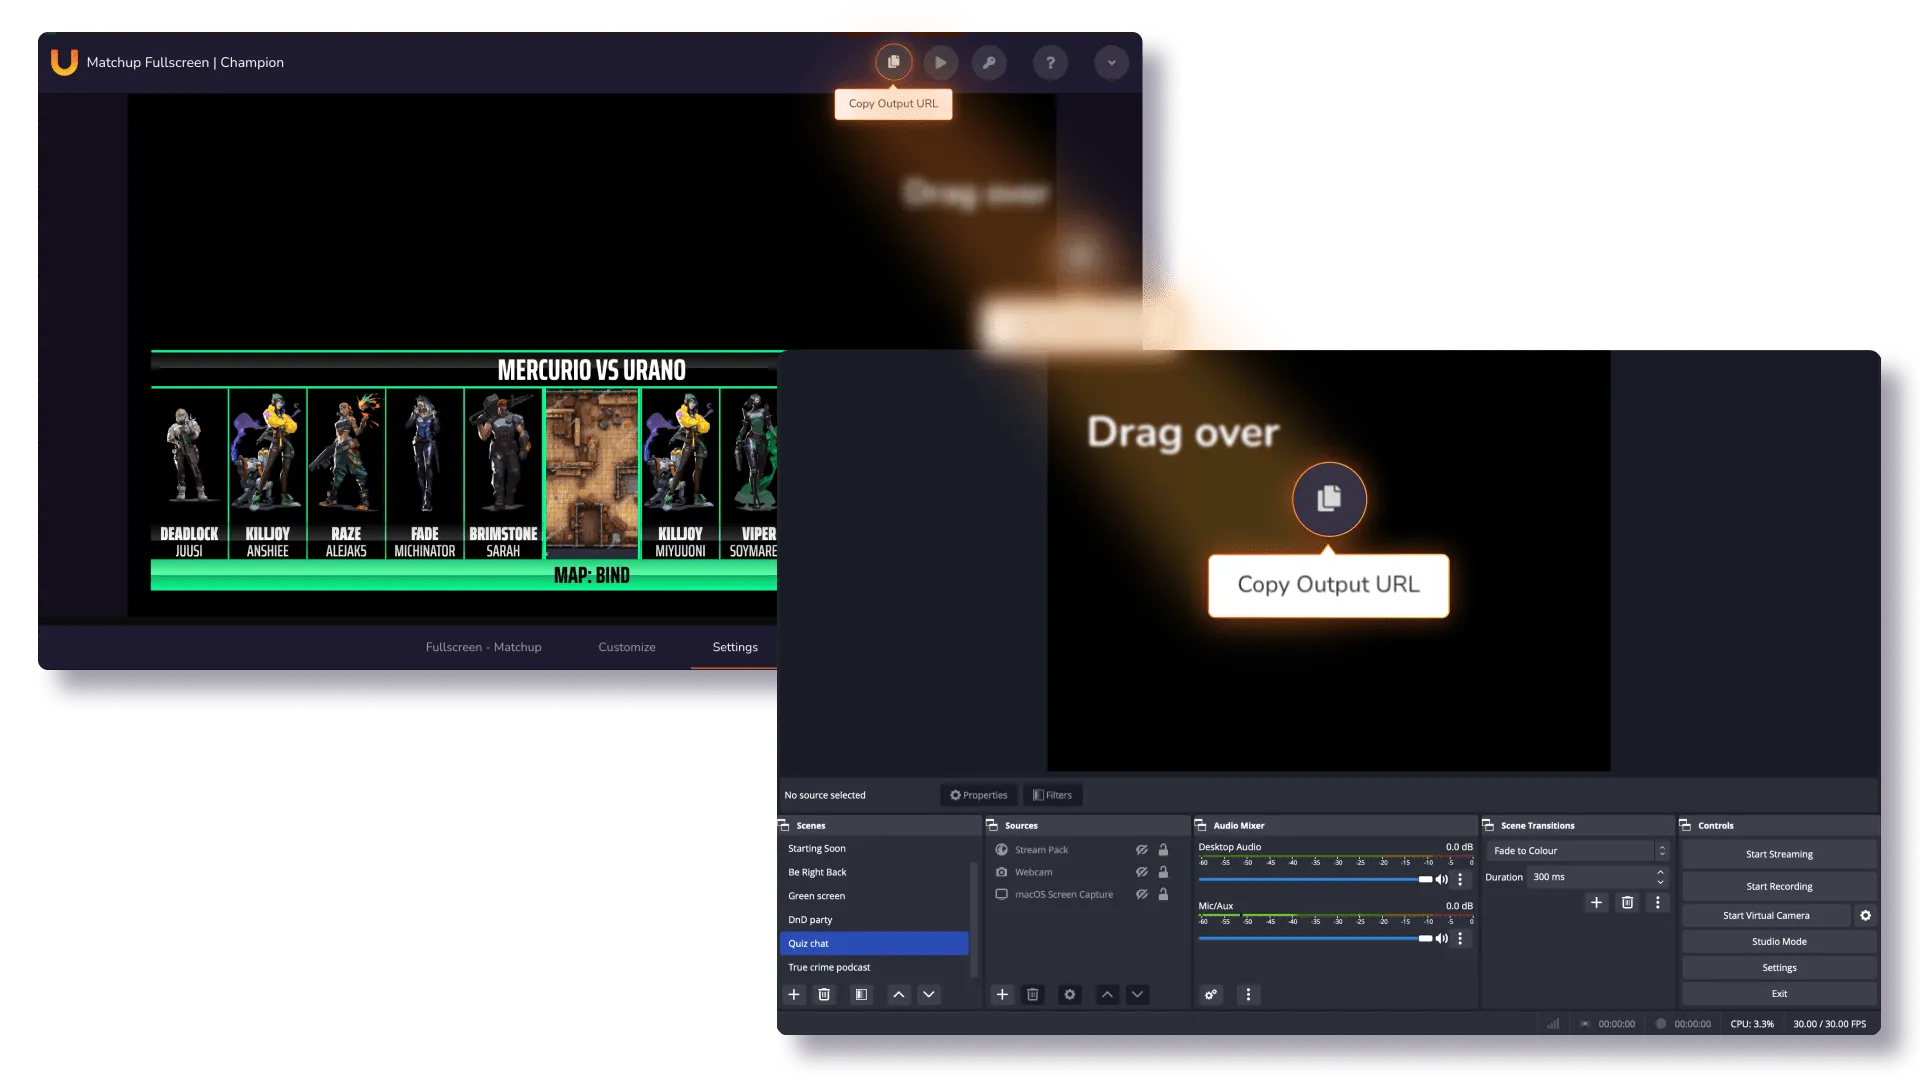
Simply click on the “Copy Output URL” button in the uno overlay interface, drag into the “Sources” panel in your OBS, and voilà! Your uno overlay is now ready to go!

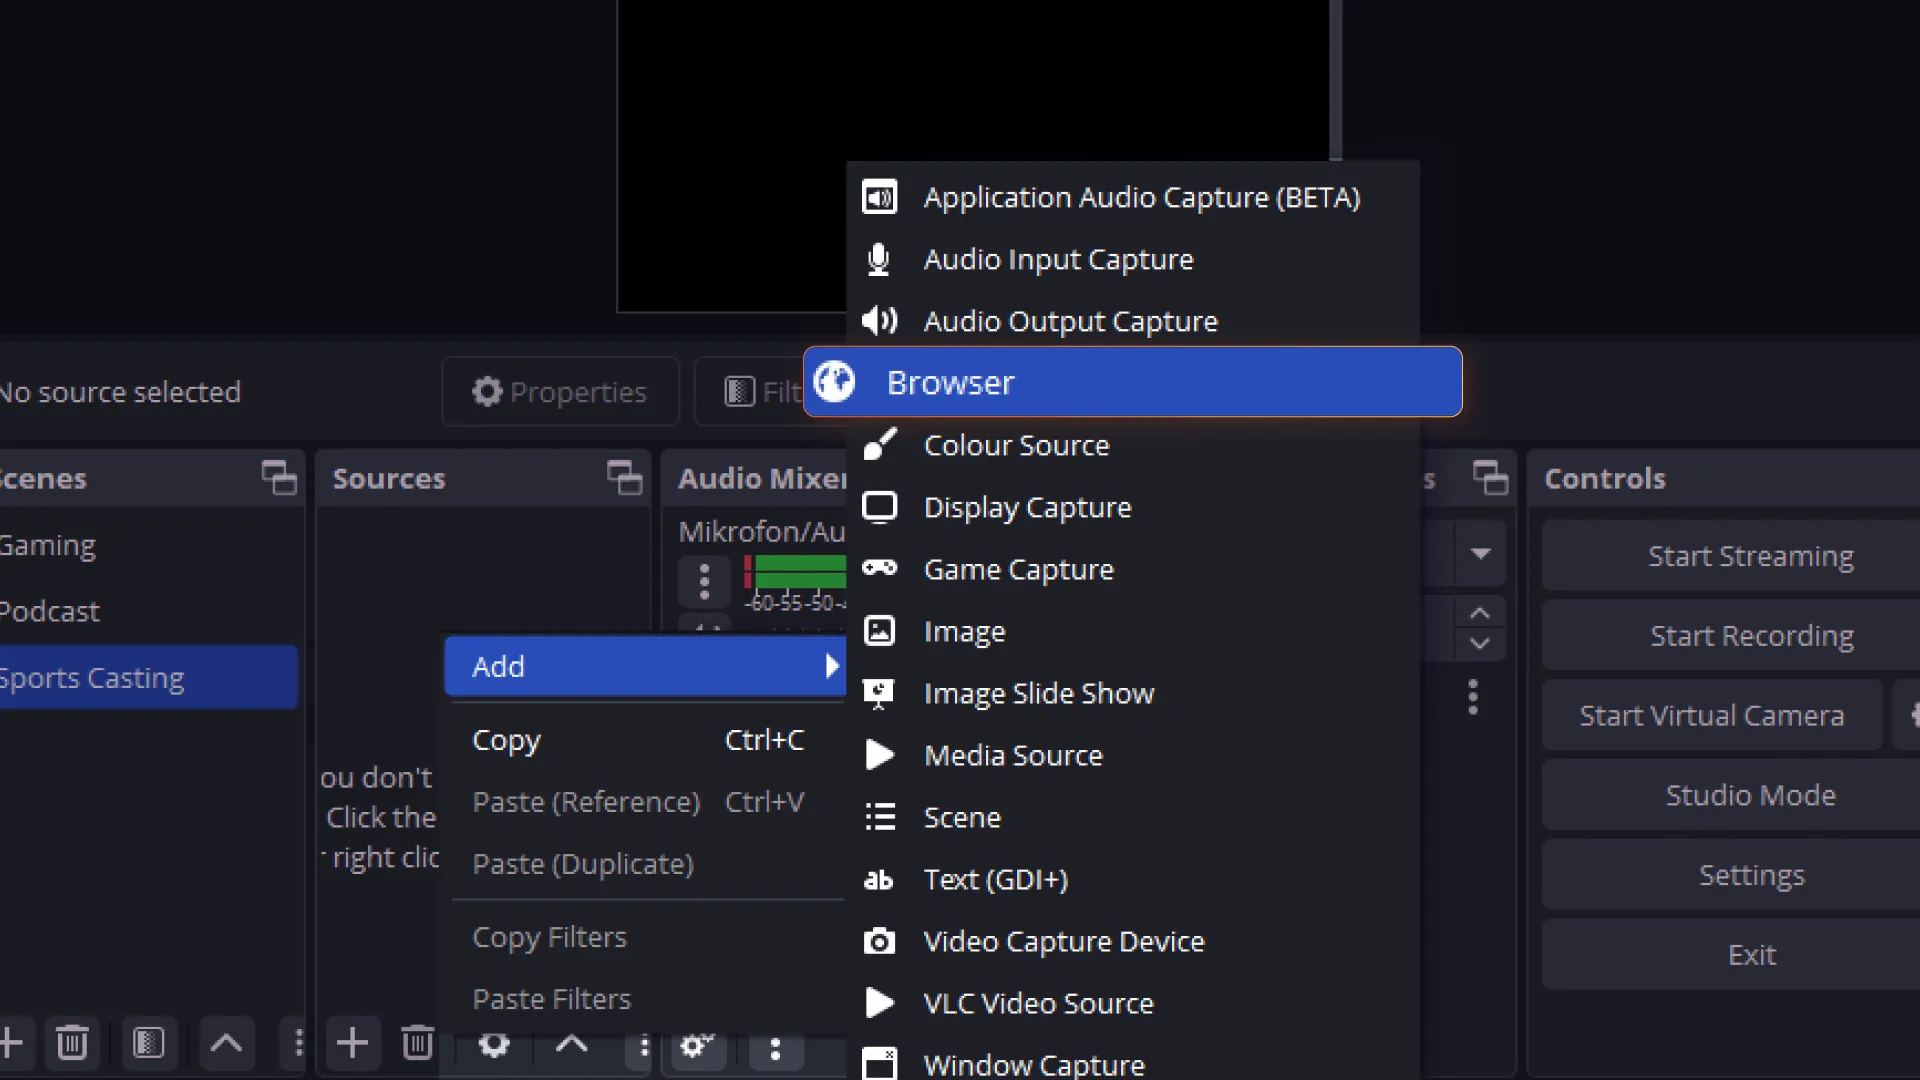
Alternatively, if you are unable to drag and drop, you can also right click in the OBS Sources panel, click Add and add a Browser Source. Here you can copy the Output URL found in uno, and paste the link into OBS Studio.

4. Customize the Overlay
After adding your overlay into OBS, you can now customize your uno overlay to fit the branding, colors or theme of your live stream. Every overlay provided by uno comes with an easy to use in-browser customization tab, and all changes will be automatically updated into OBS, making personalization an easy and effortless process.
5. Go Live!
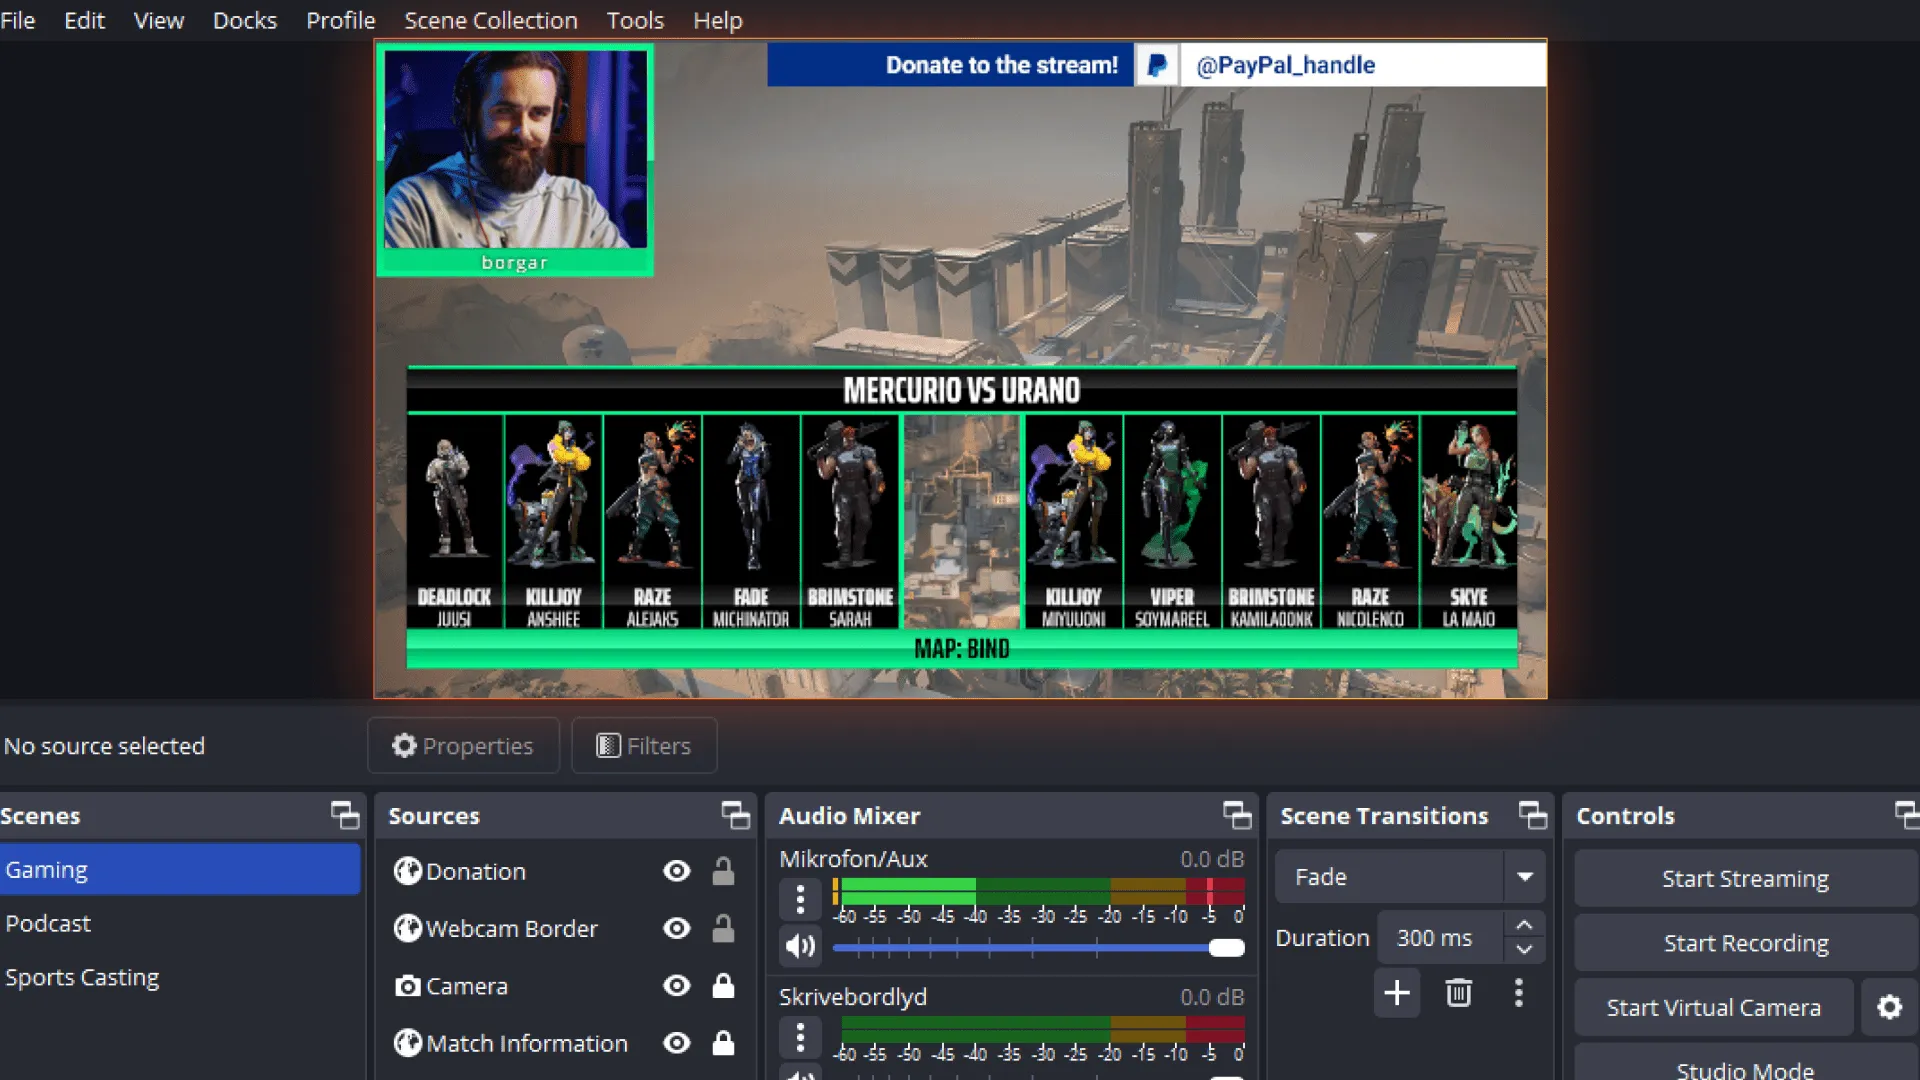
Now that you’ve learned how to use overlays in OBS, you are ready to go! By repeating the steps above, you can now add as many overlays as you possibly want. Just remember to add each overlay as a new Browser Source in OBS. Give each source a memorable name so you can edit and move your overlays within OBS effectively.Whenever you are ready, press “Start Streaming” and showcase your new and unique uno overlays to the world!

You can add multiple overlays to each scene and launch them all at once – but sometimes, you want different overlays to appear at different times. It might seem overwhelming to keep swapping between uno interface tabs on your browser to display, hide, and swap between different overlays. Luckily, there are other ways to control multiple overlays:
If you’re just hiding and showing different overlays throughout the livestream, you can do that very easily in OBS Studio. In the Sources panel, click on the eye icon to show or hide different sources – including the overlays you’ve added.
There are some limitations to using this method, however. You won’t get the smooth animation transitions we’ve built into our overlays.
Uno overlays can be controlled from your phone or your iPad. You can set up the controls for two overlays side by side on your iPad, and have another overlay set up on your mobile. You can see all the overlay controls at once and edit them as you like.
It sometimes helps to have a second person controlling the overlays – especially if you’re doing something like live streaming an important sports game or trying to focus on a guest on a live streamed podcast.
If you have a Stream Deck, you can easily program different buttons to launch, customize, and edit uno overlays. Simply download our free Stream Deck plugin. We have a number of tutorials to help you get set up, including tips and tricks on:
You can also just use any of our stream packs, which come with different sets of graphics that you can control in one interface! We have a broad range of overlay combinations, designed to match different needs for different live streamers. And if you don’t see a package that works for you, you can always reach out to us with overlay requests on Discord.
By following this guide on how to use overlays for OBS streams, you can take your livestream to the next level, personalize your visuals, and increase viewer engagement. Our overlays support multiple broadcasting software and hardware, and are easy to use. Try out your first uno overlay and connect with your audience in no time!