Resources
Most beginners should start by creating a basic screen layout their first stream. However, if you want to improve your stream’s watchability, think about adding more scenes for introducing and pausing your broadcast, and introducing smooth OBS scene transitions. You’ll boost production quality, create stronger branding, and engage your audience. Here’s our simple guide on how to start:
A “starting soon” screen introduces your upcoming live stream, builds hype, and presents viewers with something engaging to look at when they first tune in. Your starting screen can run about 10 minutes or less to give your audience some time to get settled in without having to look at a blank screen. A Starting Soon screen also buys you time while you’re doing last-minute setup or resolving unexpected technical issues.
An animated starting soon screen can include:
Here’s how to create a Starting Soon scene on OBS:
1. Click on the + symbol in your Scenes dock. Give the scene a name (for example, Starting Soon).

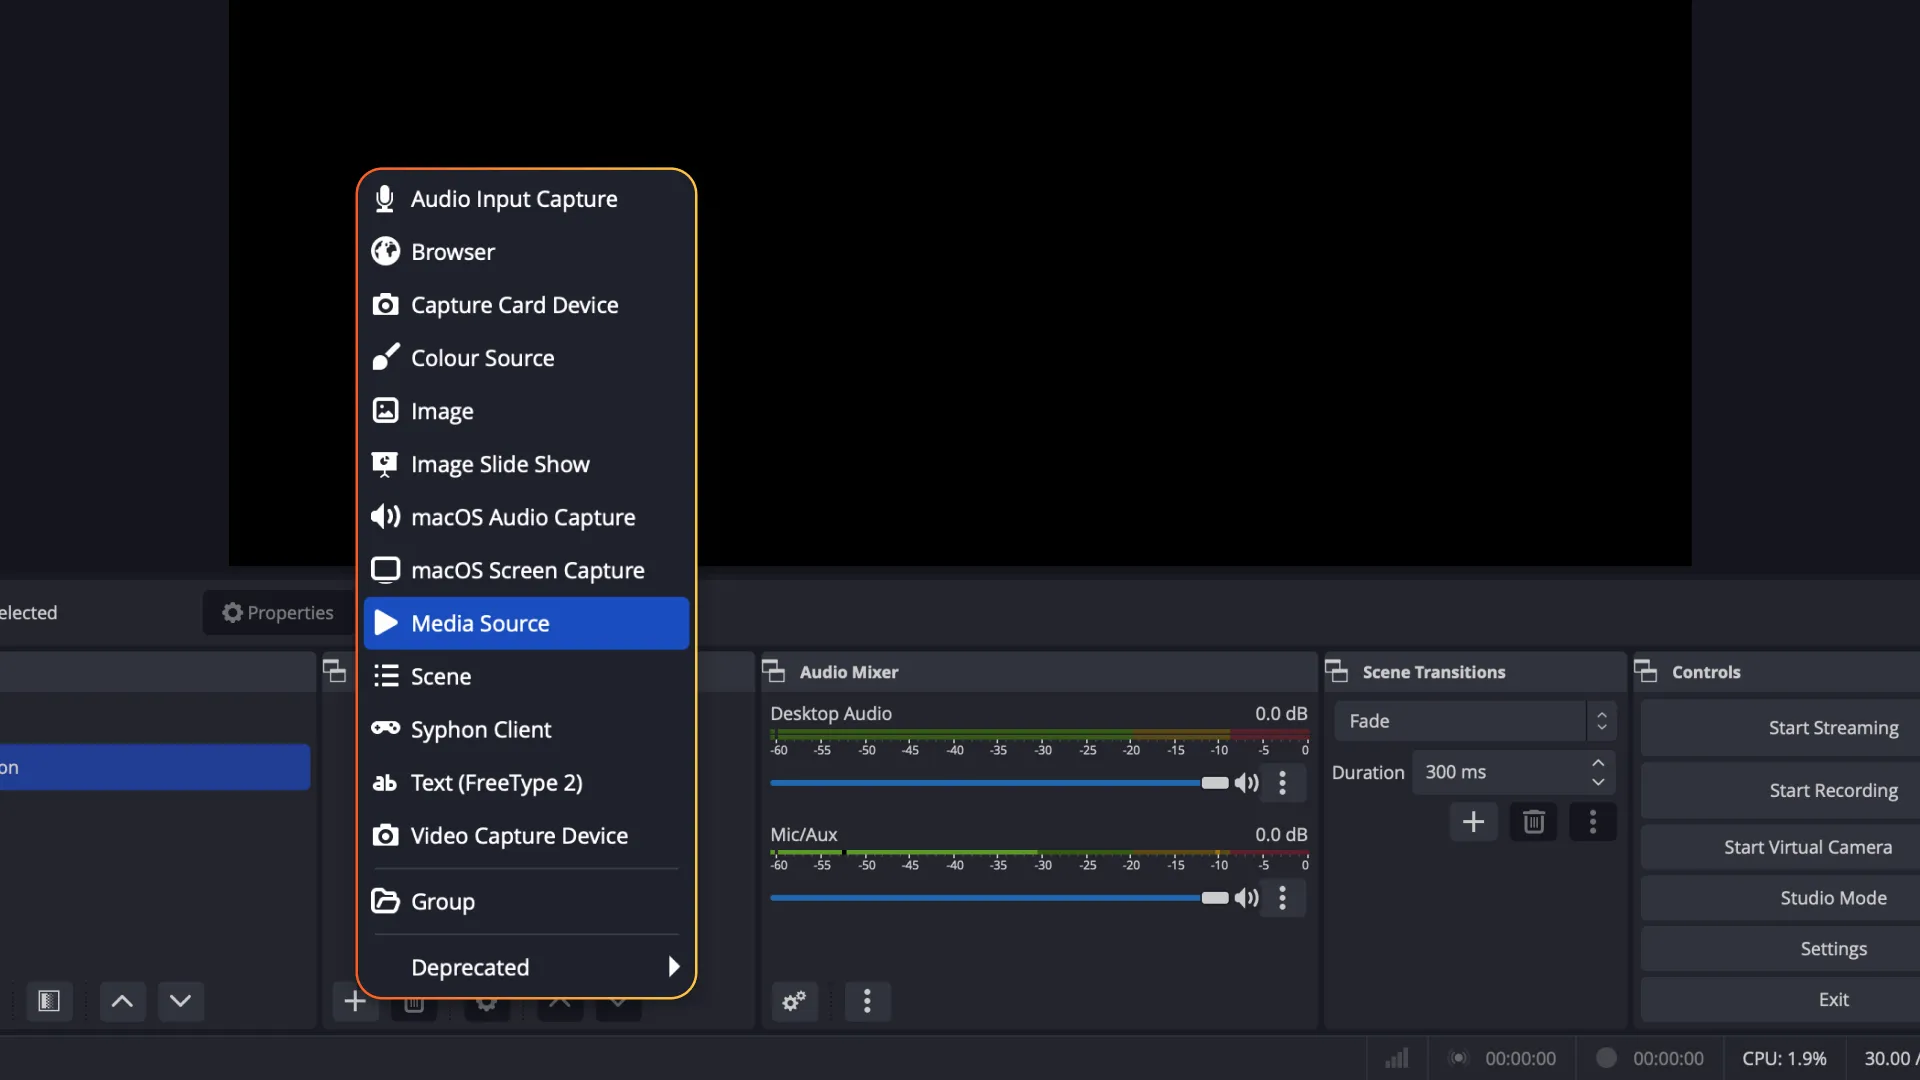
2. Create a new source by clicking the + symbol in your Sources dock.
3. Add the image, video, or link that you want your viewers to see before you start your live stream.
If you want to use a static screen with branded artwork, select “Image”. In the popup, click “Browse” to locate and choose the file you want.
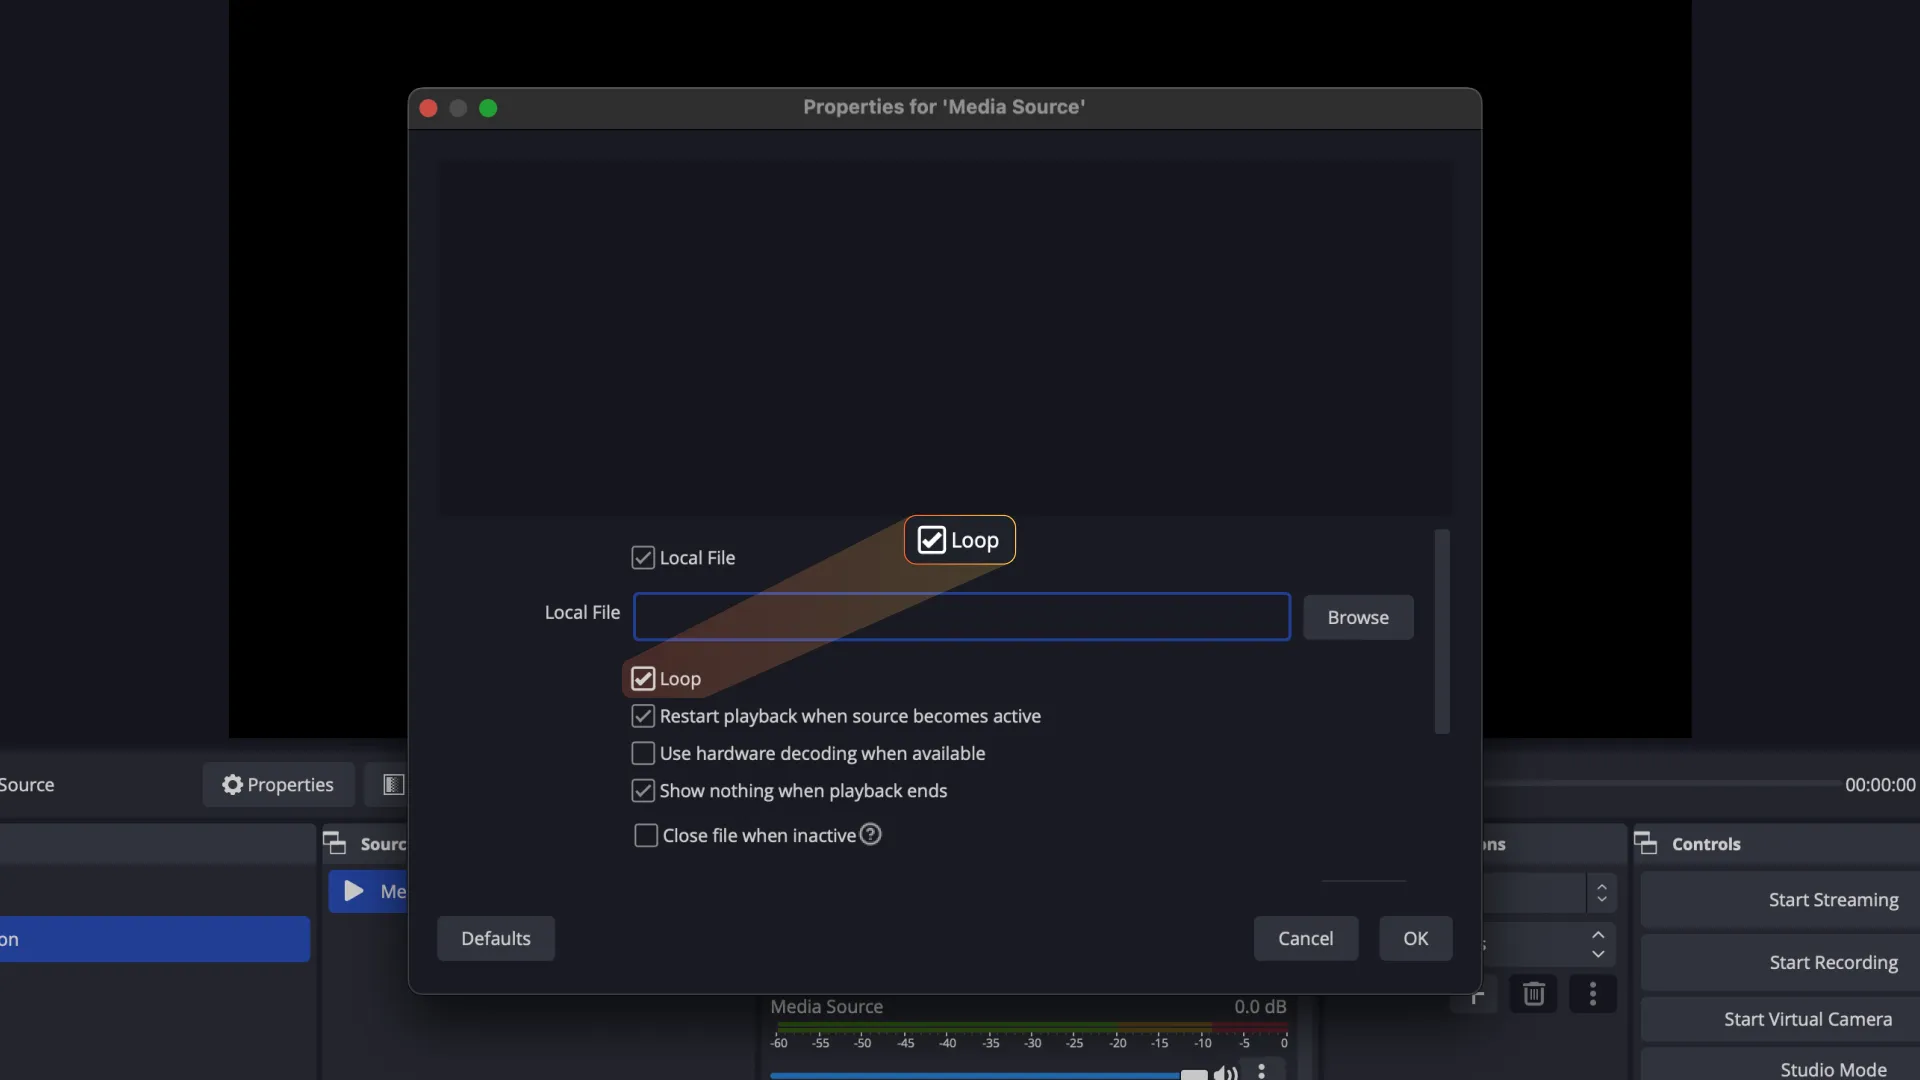
If you want to use an animated Starting Soon screen, select “Media Source”. Remember to click “Loop” if you want the video to loop.
If you want to use a free Stream Starting Soon overlay like this uno countdown overlay, select “Browser” and insert the overlay output URL.
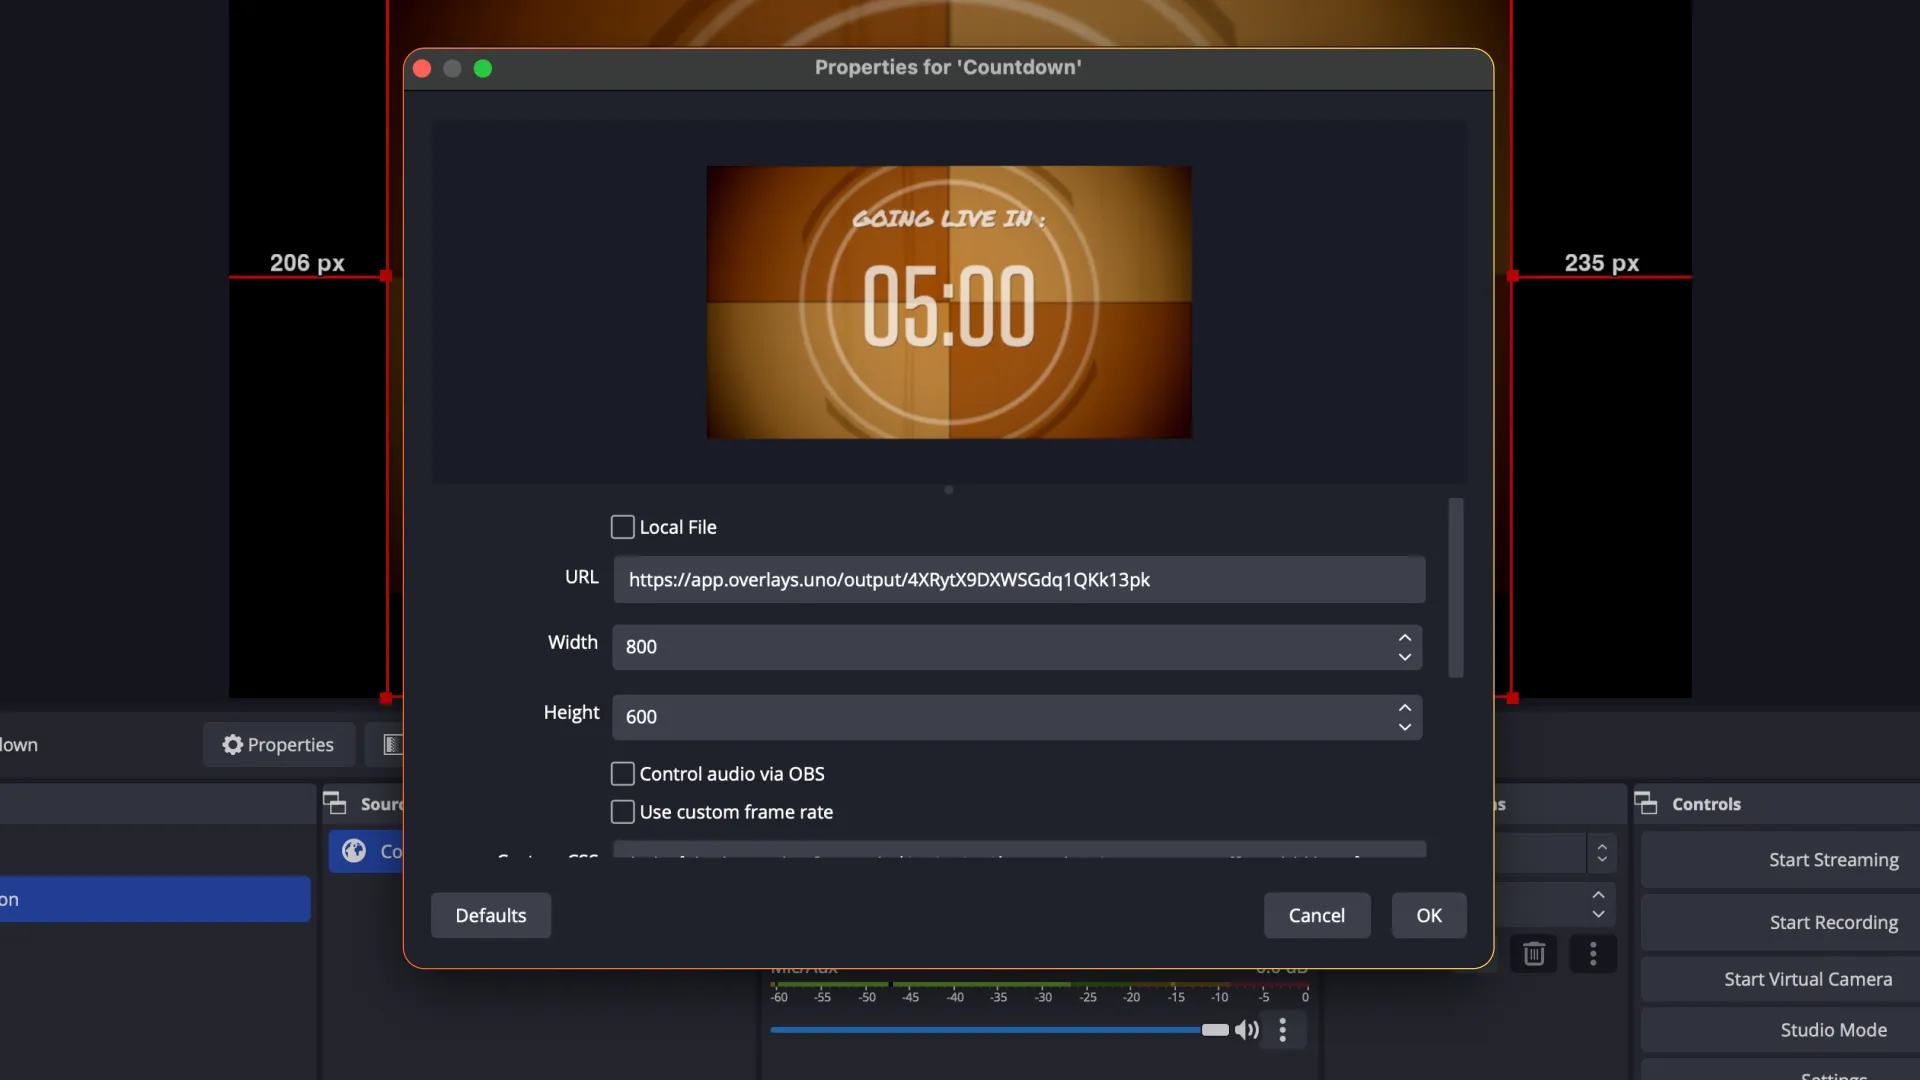
4. Resize your starting screen elements by dragging the red building box.
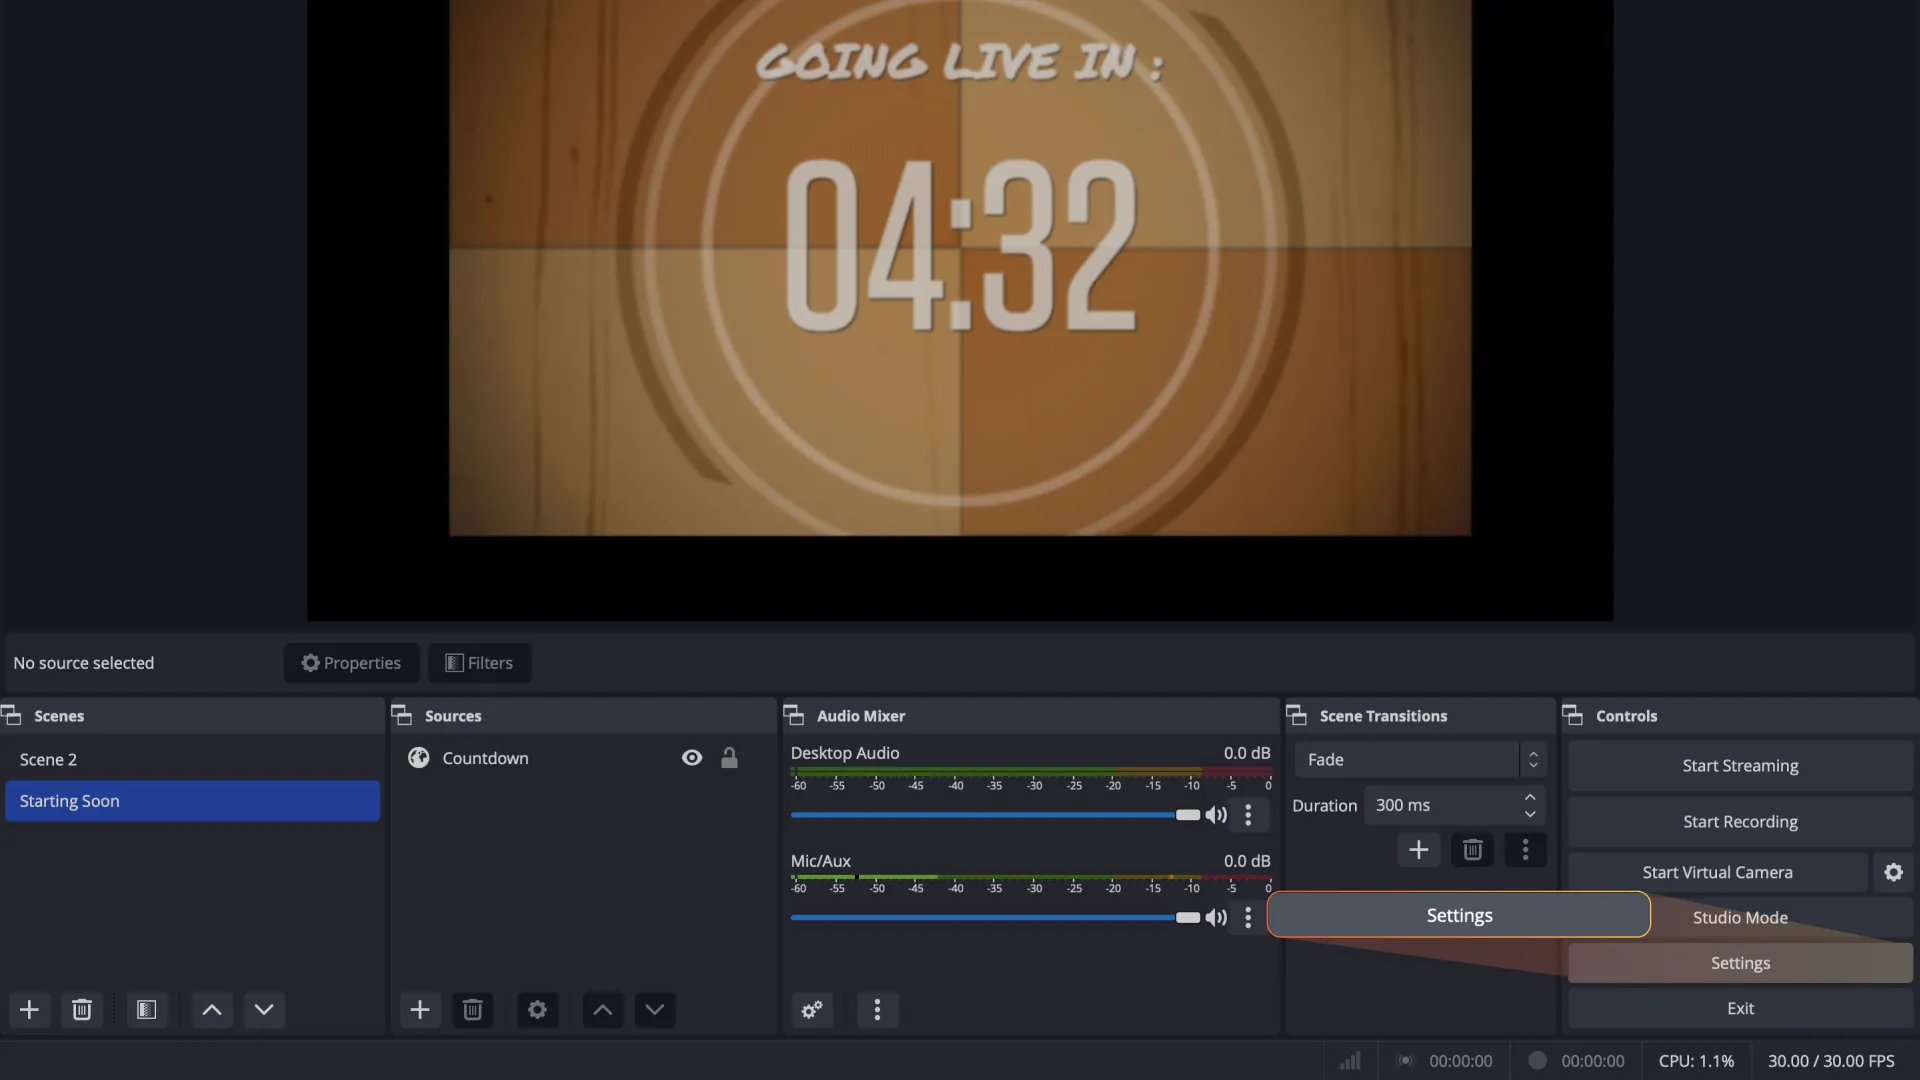
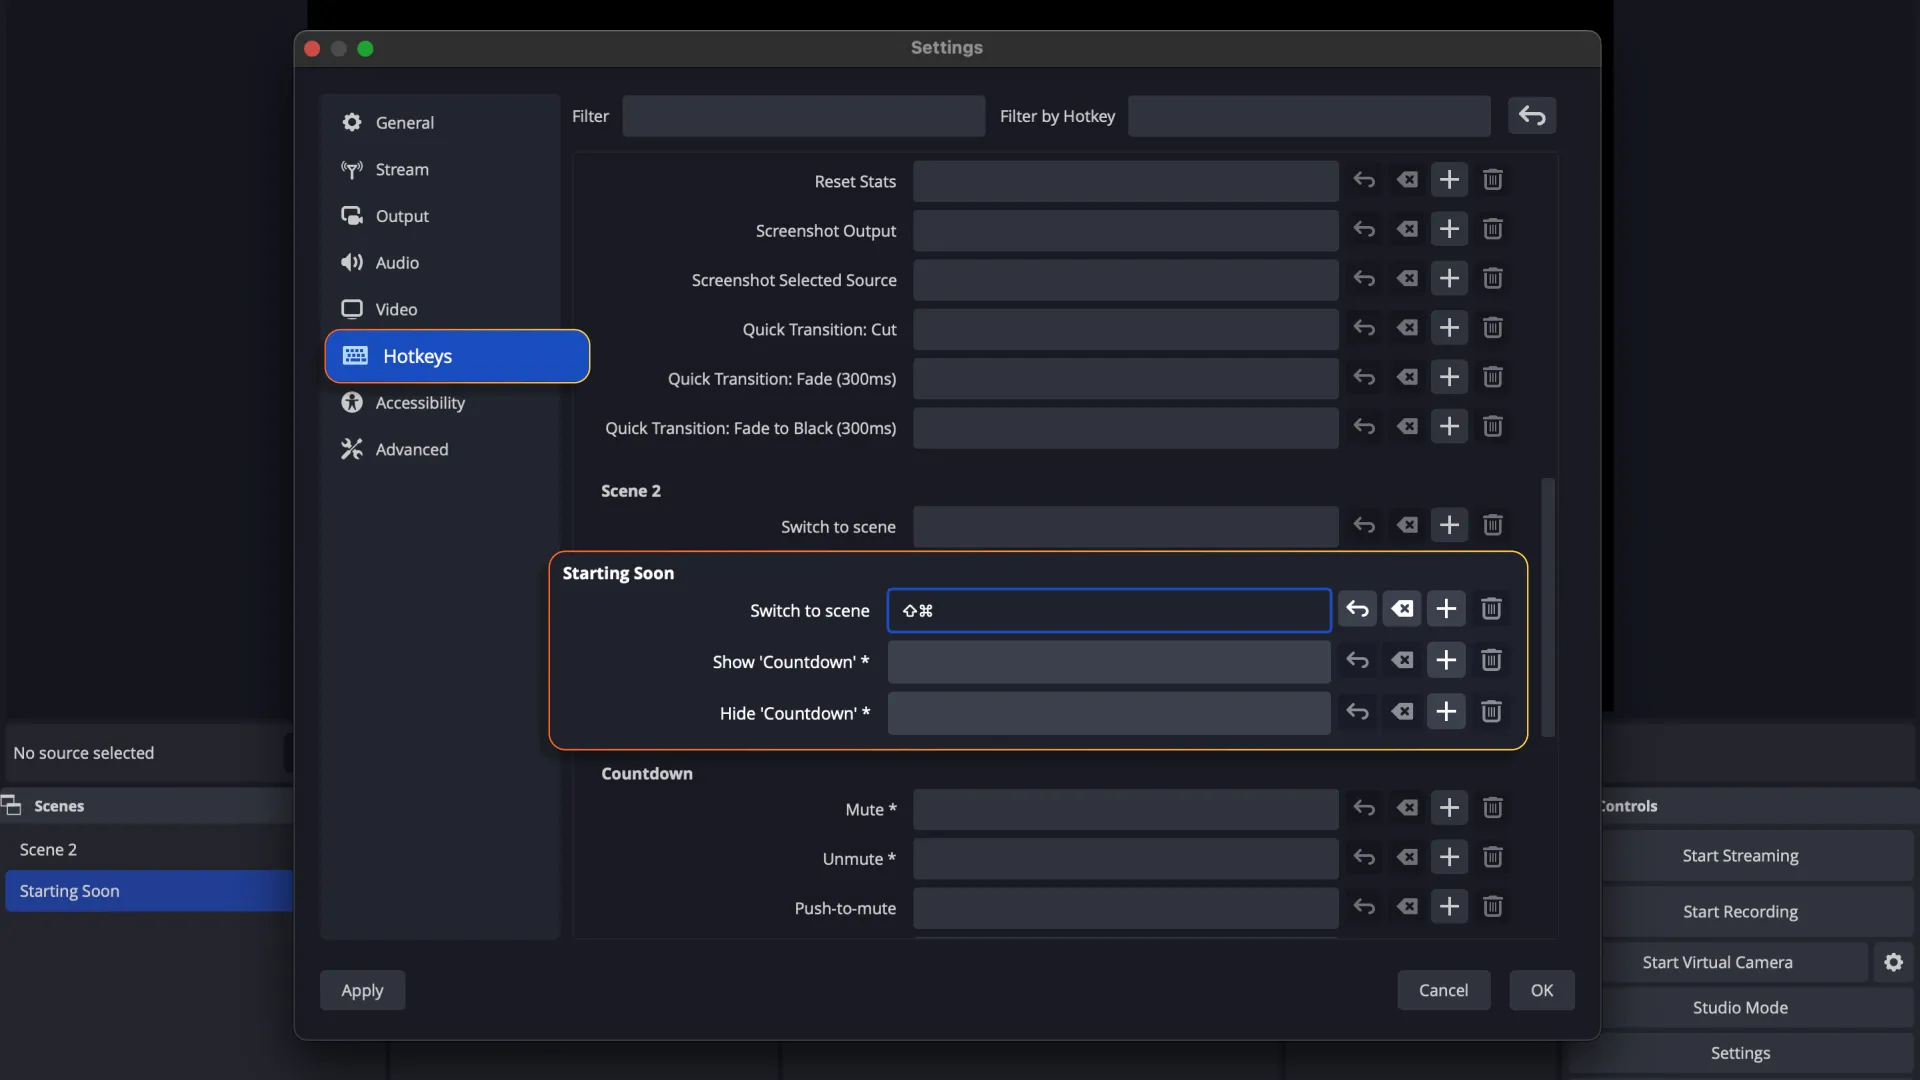
To save some time, you can link different screens on OBS Studio up to custom hotkeys (or keyboard shortcuts). Click on “Settings” under your Controls dock, then click the “Hotkeys” tab.
Scroll down to the scene you want to set a shortcut for, and set up the function or keys for your hotkeys.
A stream intermission screen or a BRB (be right back) screen lets your viewers know that you’re taking a quick break but aren’t ending the broadcast just yet. A BRB screen usually includes a simple message and graphics that match your overall branding. It keeps your viewers entertained and engaged while you take a 10-minute break, stretch your legs, or fix some unexpected technical issues.
For streamers, they’re also a space to share your social media handles, your upcoming streaming schedule, and anything else you want your viewers to check out.
Here’s how we created a Be Right Back stream overlay in OBS by combining our free countdown stream graphics and a social loop overlay:
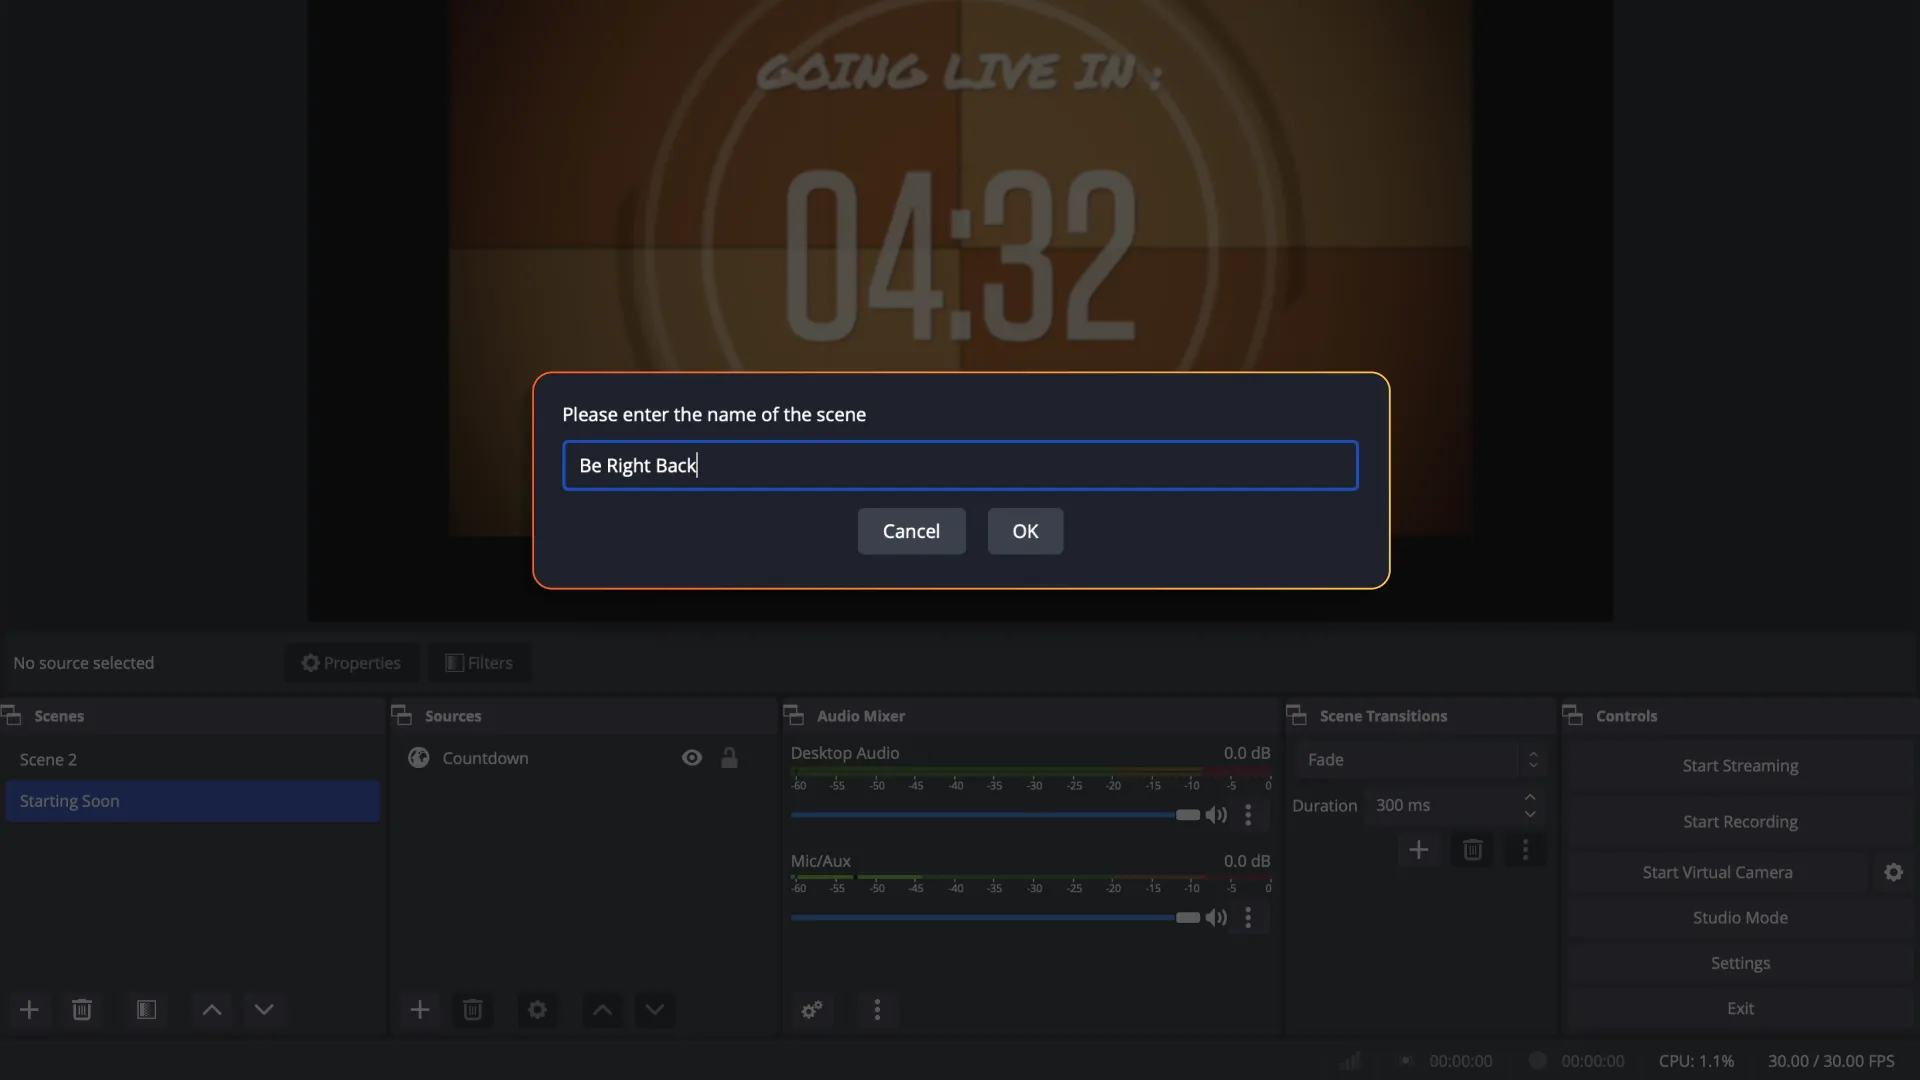
1. Click on the + symbol in your Scenes dock. Name the scene something like “Be Right Back”.
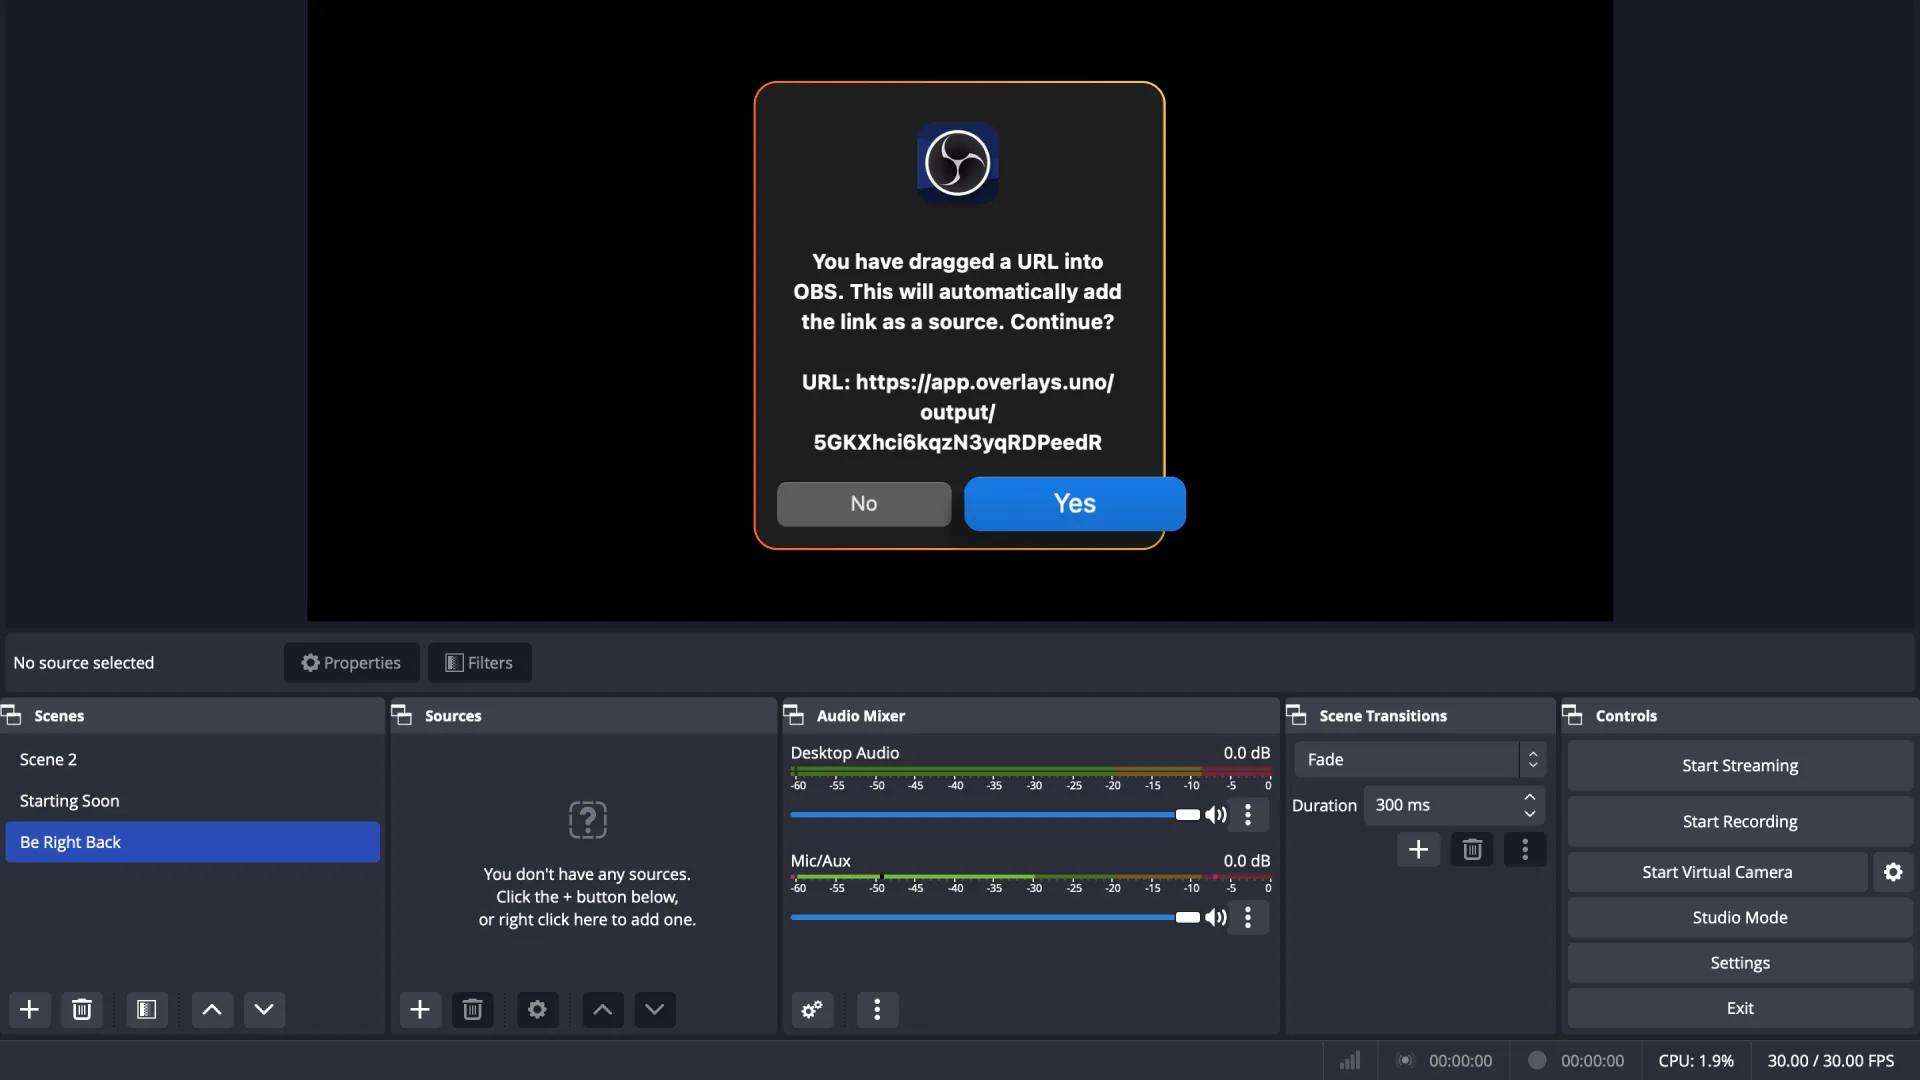
2. Add a ‘be right back’ message to your customizable countdown overlay. Drag and drop the overlay link into OBS Studio, then click “Yes” on the popup to add the link to your Sources.
You can rename the overlay once it has been added by right clicking and selecting “Rename”.
3. Add your social media handles with one of our free social loop overlays, so your viewers can stay connected with you after the stream ends.
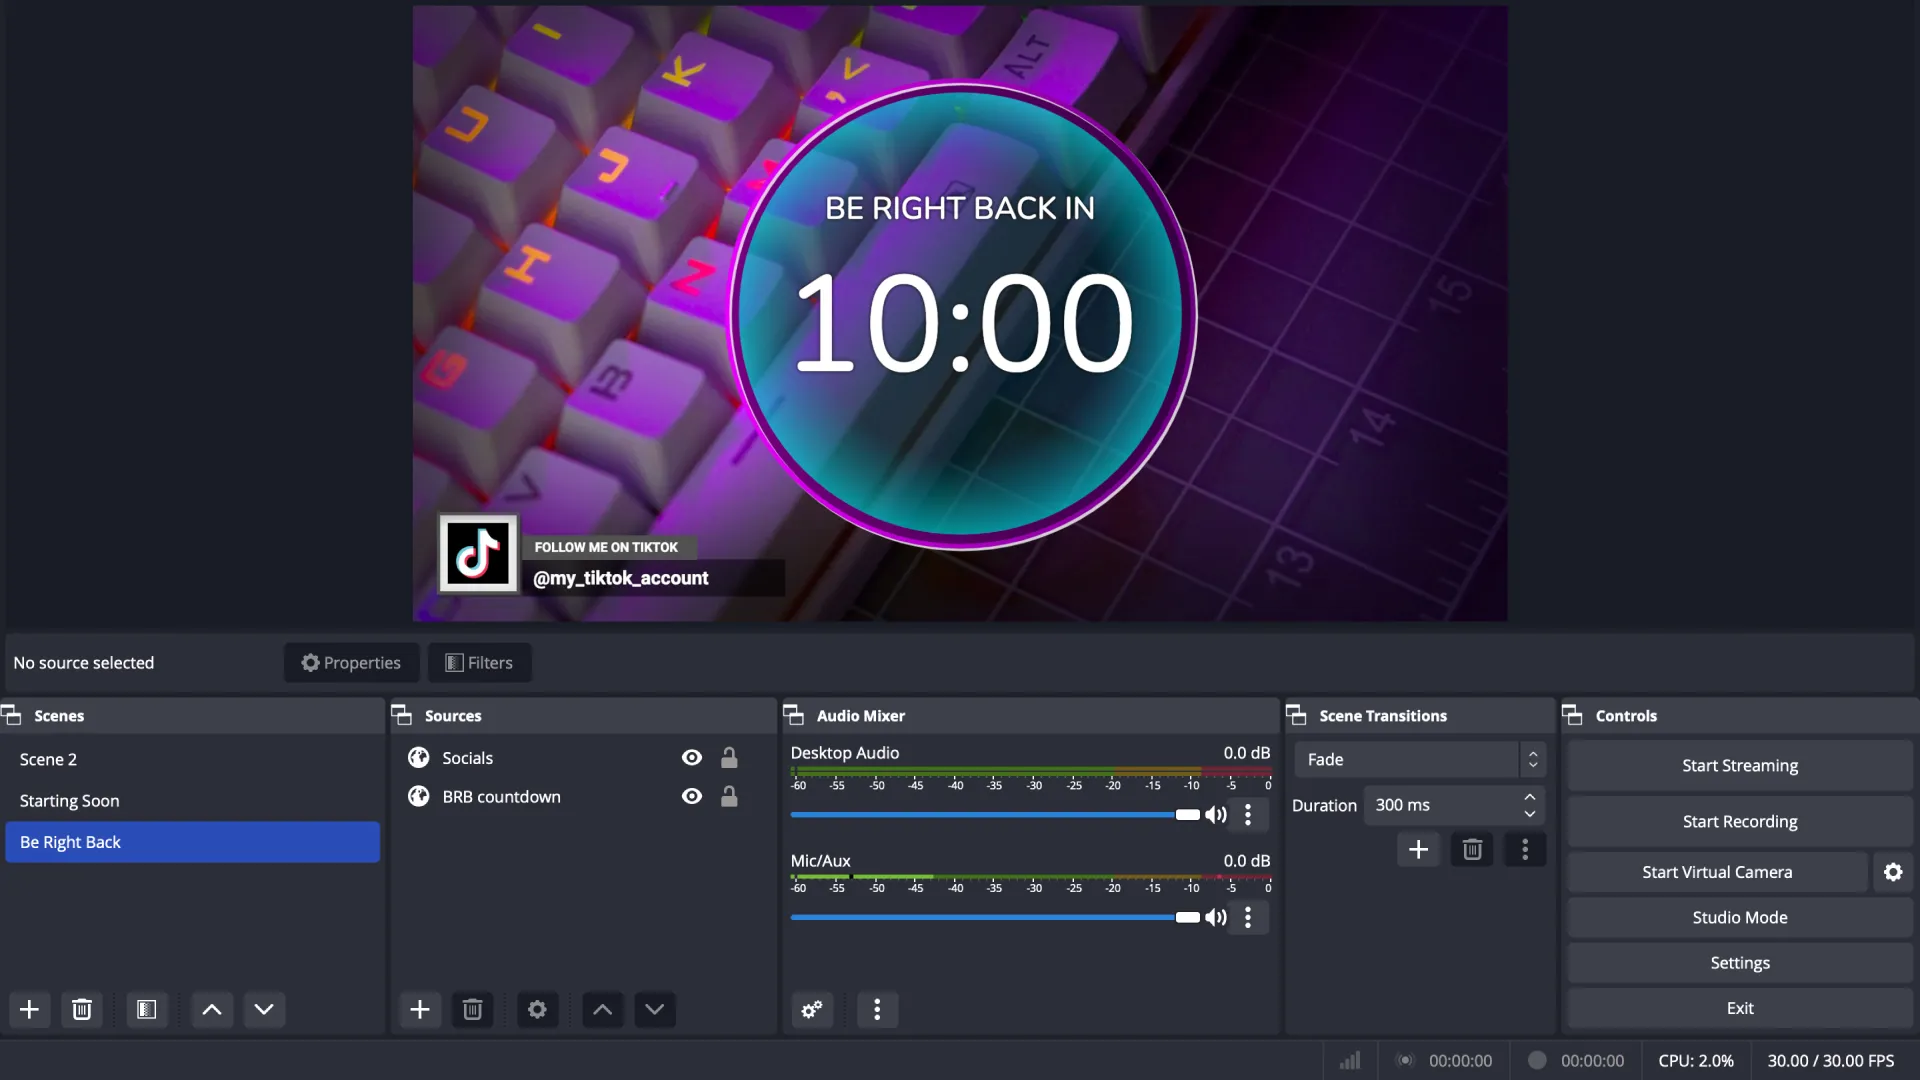
Tip: Sources added at the top of your Sources dock appear as the top layer. Make sure that your social media details are listed at the top of your dock so that they’re not hidden by any full screen overlays.
You can also use your own custom-made animated gifs, static images, or looping videos by following the same steps as setting up your starting soon screen.
A jump cut from your Starting Soon screen to your live stream can be a bit awkward and abrupt. Setting up OBS scene transitions make your live stream more visually appealing, and helps your broadcast flow from one section to the next. Here’s how you set up customized OBS scene transitions for each screen:
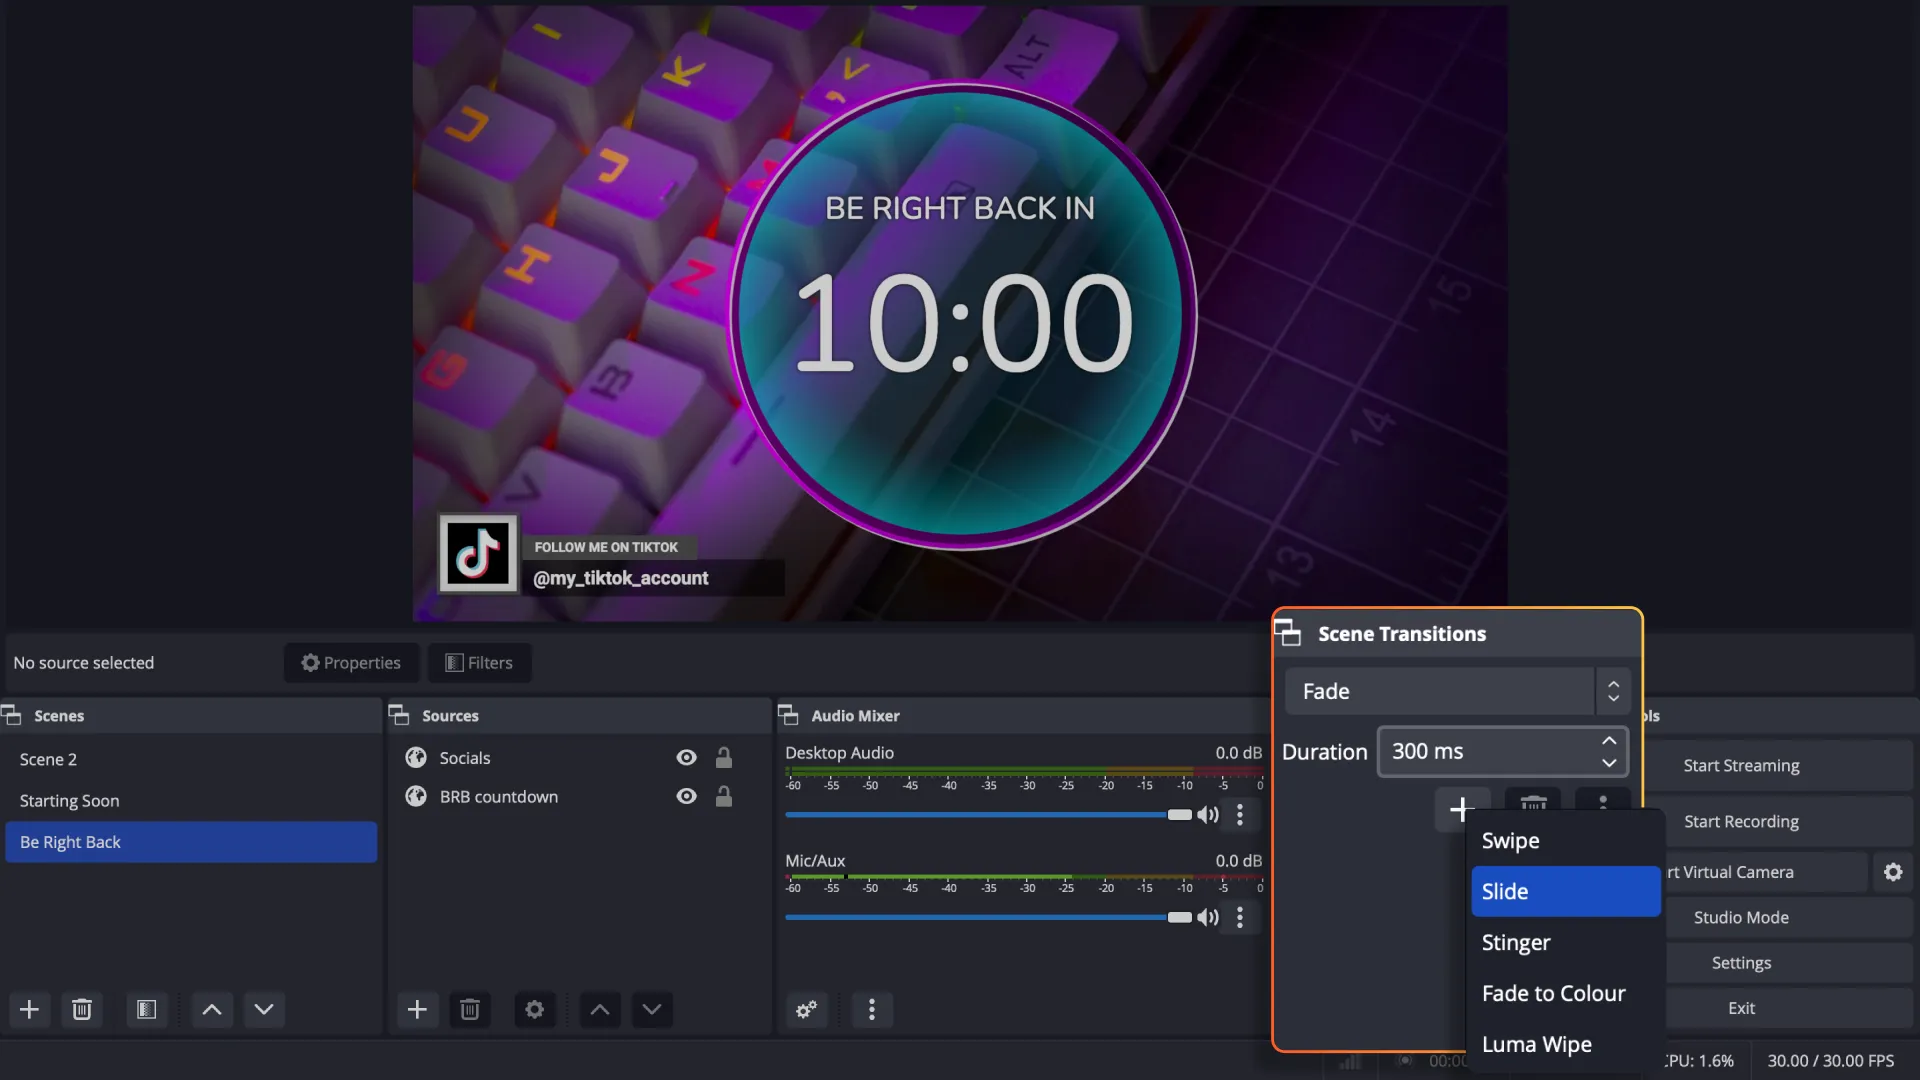
1. Click + under your Scene Transitions dock. You can find this right next to your Controls dock.
2. Select the transition effect you want from the dropdown menu. You can customize the transition to change direction and duration of the effect, and rename it so you can find it again easily.
Whenever you want to transition to another scene, the display will perform the effect you selected.
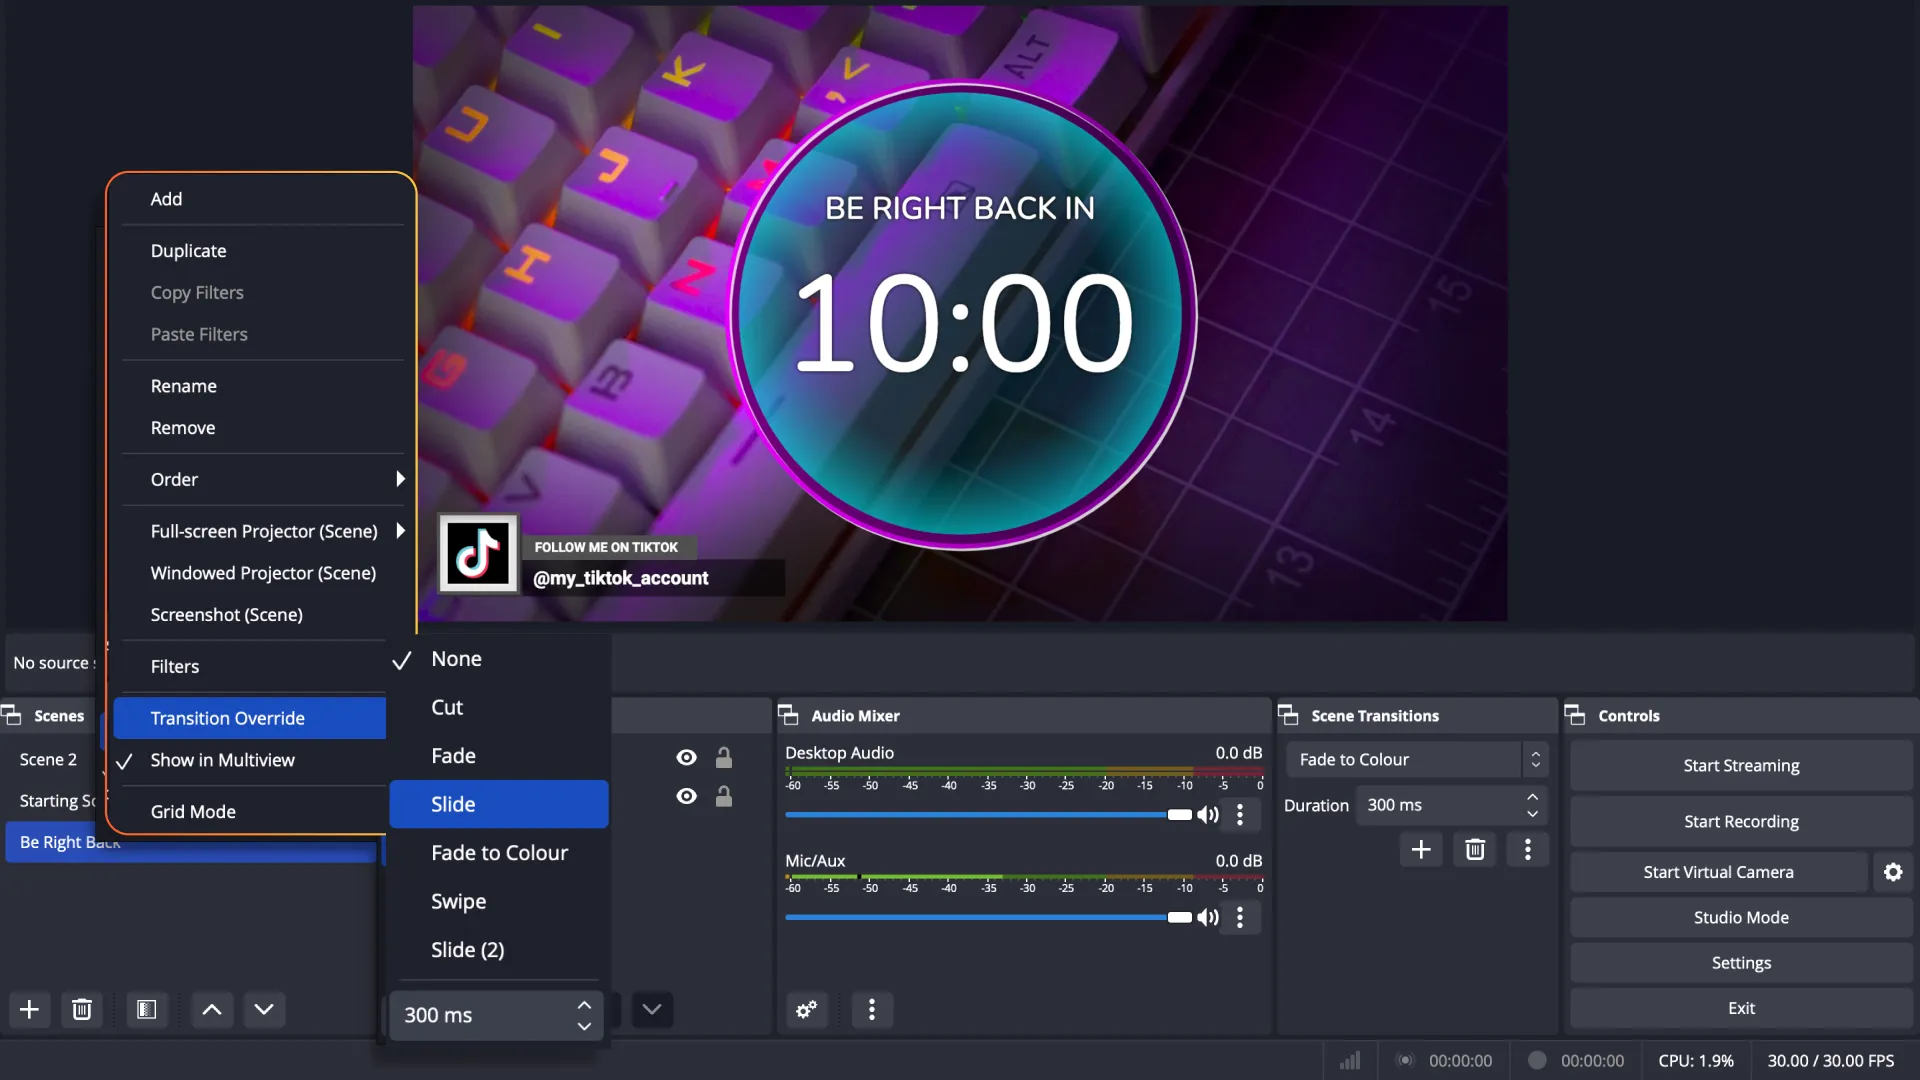
3. To set a specific OBS screen transition for each scene, right click on the scene and hover over “Transition Override”. You can now select your preferred transition for this scene.
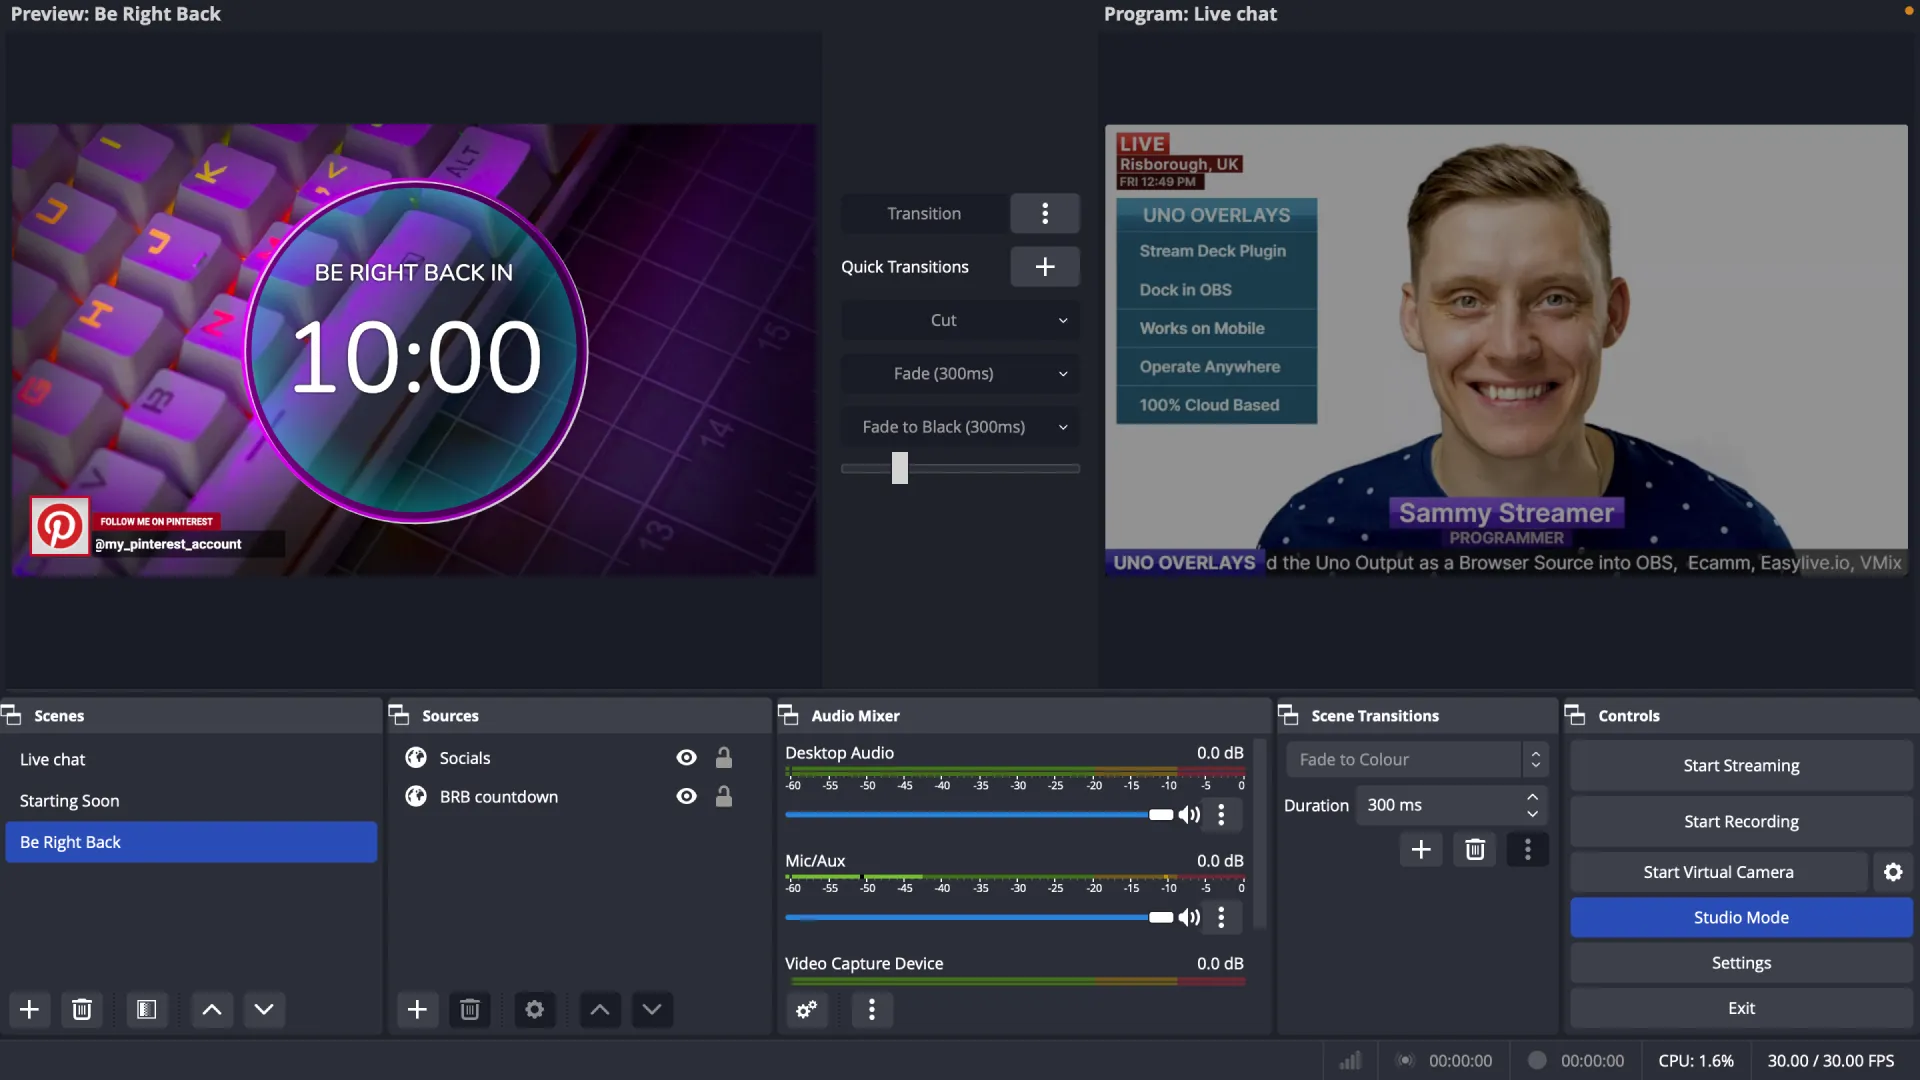
By clicking on “Studio Mode” under the Controls dock, you can view both the scene you’re transitioning to and the scene you’re streaming to your audience. “Program” shows you the screen currently broadcasting to your audience. “Preview” shows the screen that you can transition to using the tools in the center.
You also have access to all the controls you need to swap between the two. Click “Transition” to run your transition effect, or use the slider to manually fade from screen to screen.
End your live stream without having to deliver a polished outro, while keeping production quality by using a stream end screen. An ending screen gives your viewers the time they need to find a new stream, or just to stick around for a few minutes and leave final messages.
Some streamers use a starting image with custom art or graphics, or a looping video, with a message thanking viewers for tuning in. You can also use any of uno free animated overlays to summarize talking points, share social media tags, thank sponsors, and more.
How long you keep your ending scene running depends on how long your broadcast was, as well as the platform you’re streaming through. For example, the benchmark duration for YouTube end screens is within 5-20 seconds long. Meanwhile, Twitch streamers often let end scenes run for a little longer to give viewers a buffer of around 10 minutes.
Once you’ve added your customized screens and chosen your OBS screen transitions, you’ve successfully created your very first streaming toolkit. With a bit of practice, you’ll master swapping from screen to screen in no time. Or, if all this setup seems too complicated, you can also use one of our Stream Packs. The Palladium Stream Pack comes with lower third tickers, live bug, and other elements – all easily controllable from our online interface.

