Sign up for uno
Language
A webinar is an online presentation that allows individuals or organizations to share information and interact with an audience using features like video, audio, and chat. It's a convenient way for people to connect and learn from anywhere, without demanding much time from attendees or spending a lot of money.
A webinar is a very versatile and accessible medium through which businesses and organizations can achieve their goals, including building brand loyalty, generating leads, encouraging direct feedback through polls and Q&A sessions, and even creating reusable marketing material. Webinars are used for educational workshops, product demonstrations, sales presentations, training sessions, panel discussions, and more.
1. Write a show rundown and script
Remember to plan your webinar well ahead of time. Write a detailed run of show (ROS) outlining the entire livestream process. It can help to prepare a script to keep you on track. Include a compelling hook in your introduction to grab attention.
2. Plan for disaster
You need a backup plan in case of any technical issues during your event. Be prepared for things like audio/video problems. You should be using a high-speed, stable internet connection, but have a backup plan for what to do if you encounter connectivity issues. Prepare a backup microphone or headset, have backup slides saved on your computer, and print out the run of show and script. It's always a good idea to have a Be Right Back screen ready in case you need to pause the livestream.
3. Set up good lighting
Lighting plays an important role in webinars. To make sure your room doesn't look too dark, think about getting an LED ring light. Natural light can also work if you make sure to face towards the source of light, and avoid mixing natural light with indoor light since it will produce an unwanted color cast. If you wear glasses, using diffusers or placing the light source a bit further away can help prevent glare.
4. Be energetic and approachable
Keep your energy level high and try to keep your gaze near the webcam during the webinar to keep your audience interested. Avoid monotony by changing your voice dynamics. Keep a glass of water nearby to stay hydrated. Show your passion for the topics. Avoid jargon and speak as if you’re talking to a friend. Smile more and maintain a friendly expression to create an approachable atmosphere.
5. Use tools to make your webinar more engaging
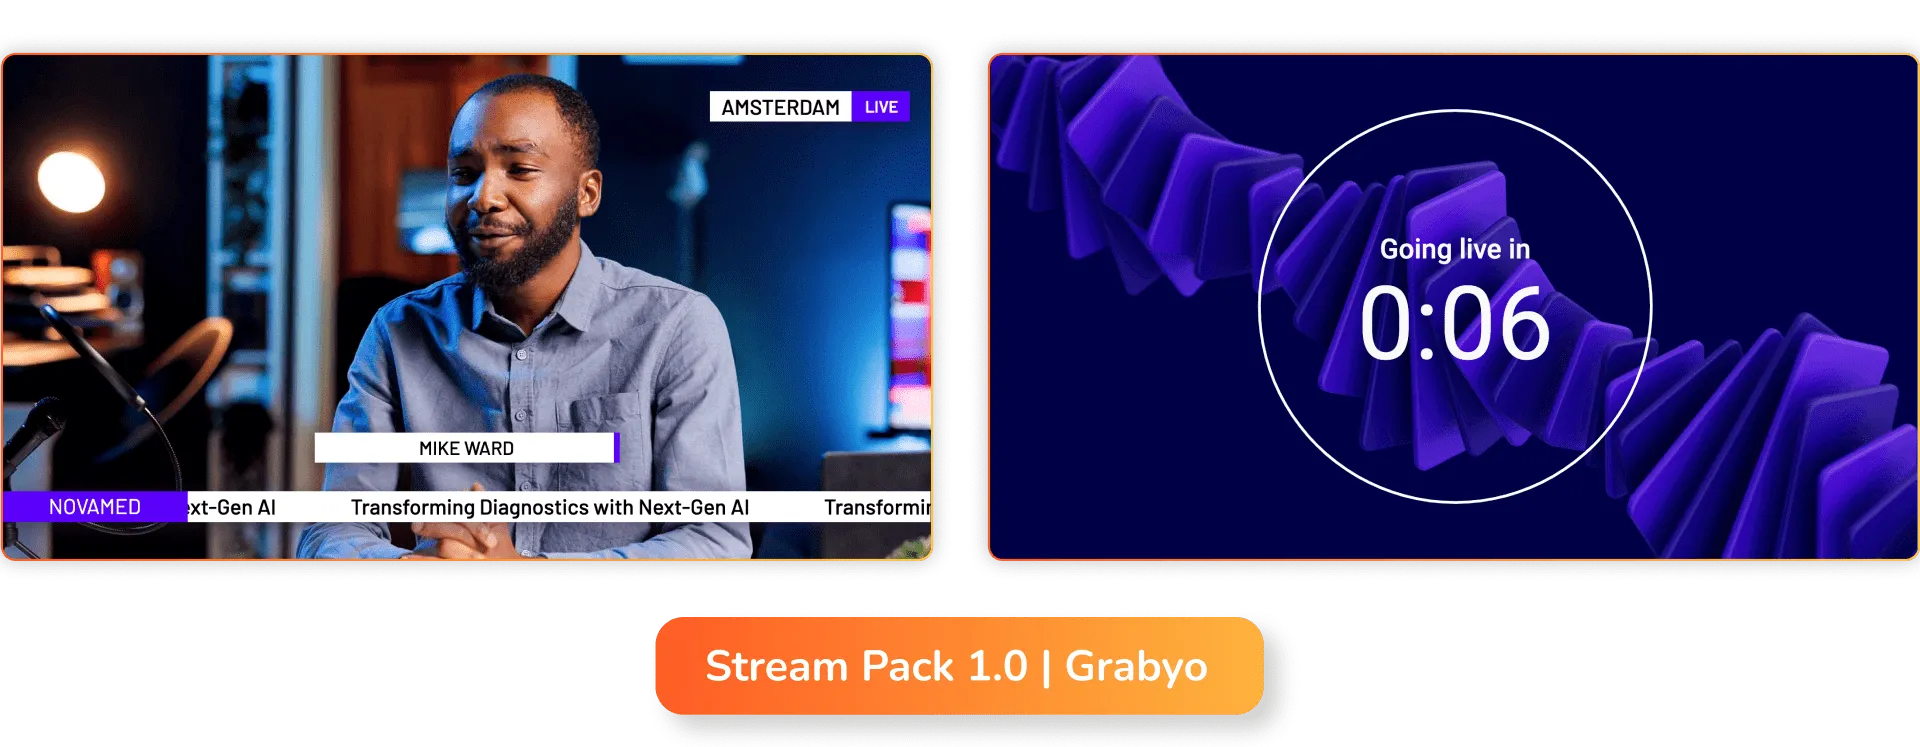
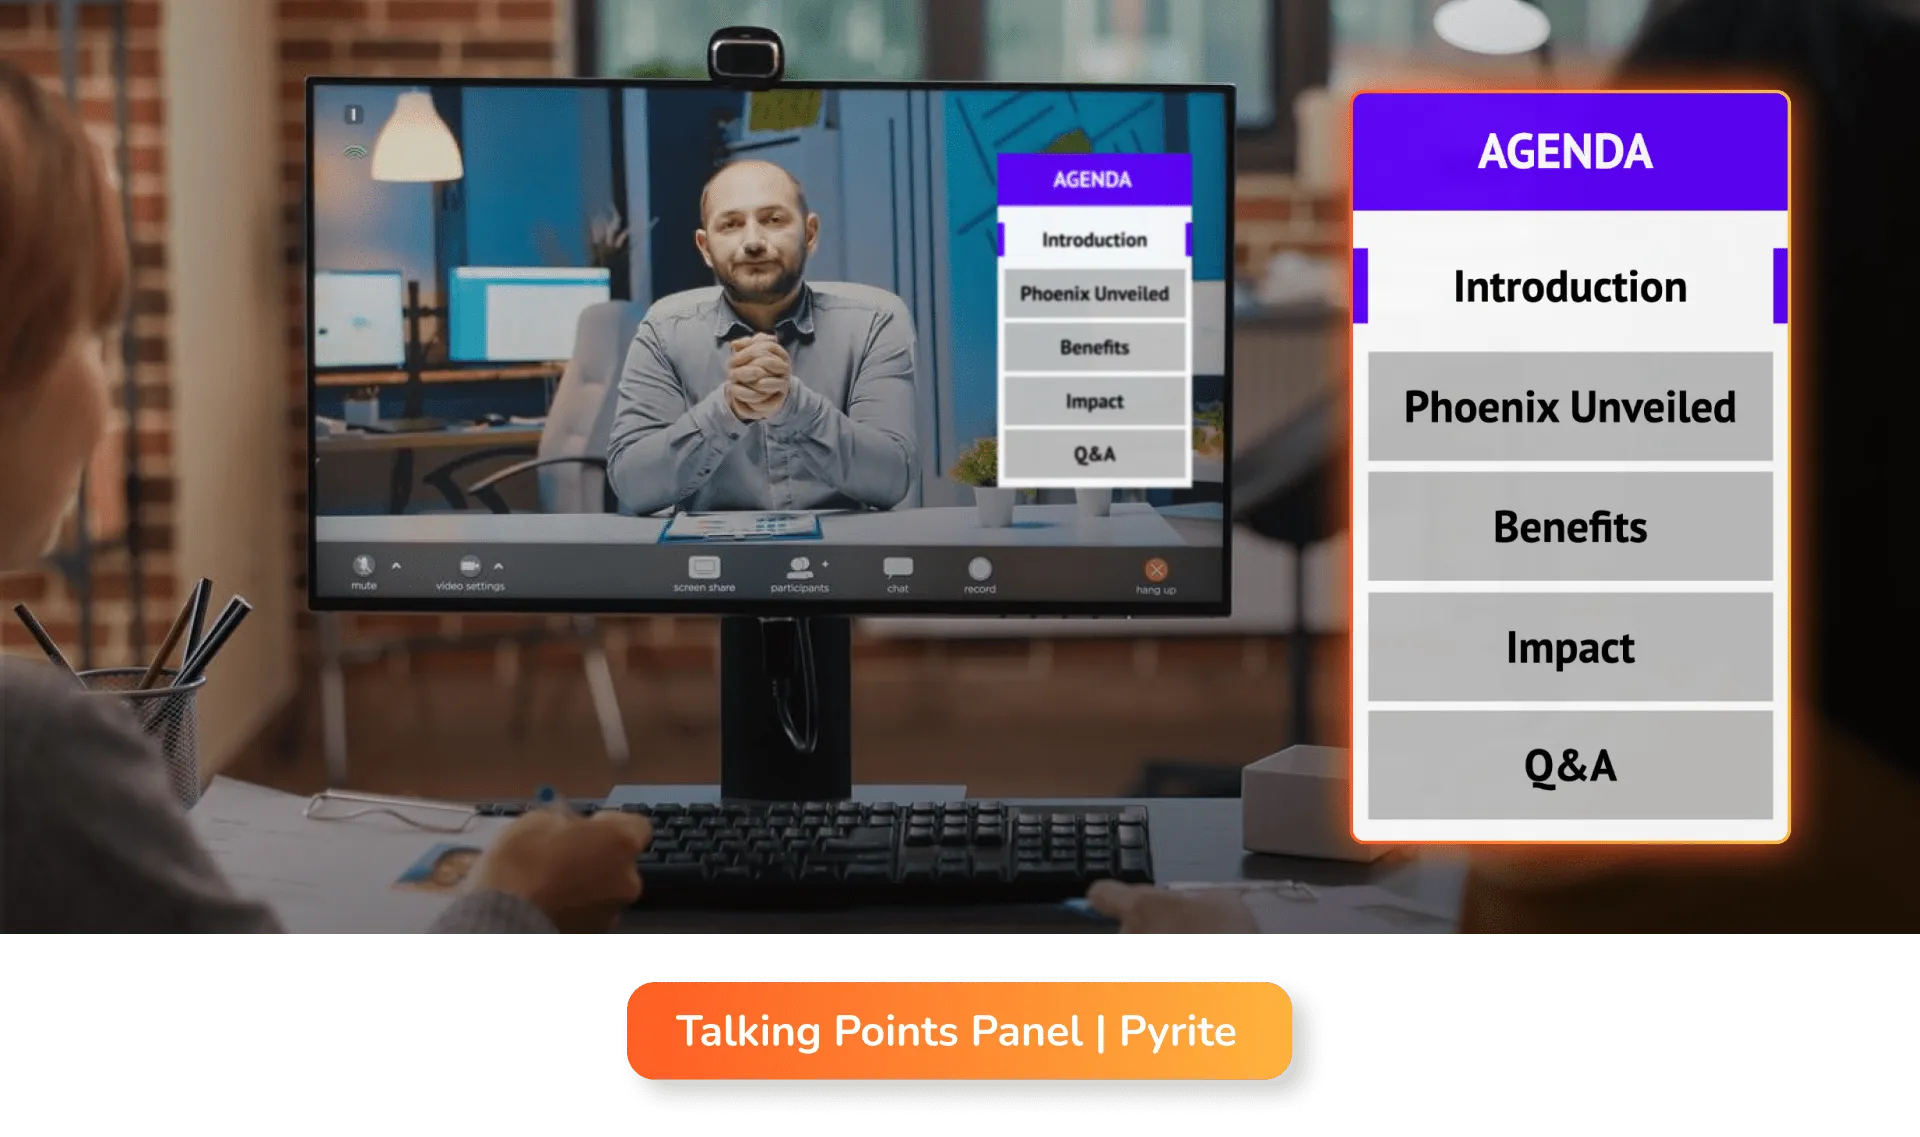
Use tools to add to the overall production quality of your webinar. Webinars can feel incomplete without music and overlays. Adding music and animated overlays prevents dead air during session transitions, makes your webinar more entertaining, and gives your brand more value. Overlays can also deliver additional information during the webinar that helps people stay engaged.
Using stream overlays during live webinars improves the experience for both presenters and attendees. Here are some of the reasons why:

Here's a detailed guide to help you how to create a webinar and incorporate overlays seamlessly into it:
1. Choose the right software
For streaming software, select a reliable streaming software that supports overlays, such as OBS Studio or Ecamm Live. Make sure your webinar platform (Zoom, Microsoft Teams, GoToWebinar, Streamyard, etc.) is compatible with the streaming software you choose.
2. Set up your streaming software
Choose a streaming software that matches your budget and technical capacity. Ecamm Live is compatible with Mac, while vMix is Windows-compatible. OBS Studio is open source, free to use, and is relatively simple to use once you get started. Set up scenes for different segments of your webinar in your streaming software, including introductions, presentations, and Q&A sessions. Add your sources to the streaming software, including cameras, microphones, screen captures, and chatboxes.
Many streaming software options offer a virtual camera feature. Enable this to use the streaming software as a video source in your webinar platform. Follow the instructions for your specific webinar platform to integrate the virtual camera. This typically involves selecting the virtual camera as your video input source.
3. Design your overlays
Incorporate your brand’s colors, logos, and fonts into the overlay design. Create different overlays for various purposes, such as title cards, lower thirds, call-to-action buttons, and interactive elements. You can use graphic design tools like Canva or Photoshop to design your overlays or use uno animated overlays if you don’t want to create them from scratch. Import your overlays into your selected streaming software. Resize and reposition your overlays and sources to create an overlay template.
4. Test your setup
Do a dry run of your webinar to check all overlays and transitions. Make sure everything looks great and works as it should. Check that both audio and video are clear and that overlays aren’t covering important content. If you need to share screens with the audience, make sure they work seamlessly with the overlays.
5. Go live
When you’re ready, begin streaming from your streaming software. Your overlays should now be visible to the audience. Keep an eye on audience engagement and feedback. Adjust the overlays using our browser-based overlay interface if necessary during the live session.
There are several stream overlays from uno you can apply to your webinar. Here are some examples:


You can explore uno library for more information, sign up and use our overlays for free. And, if you’re looking for tips on how to host a webinar using our overlays, join our community of innovators on Discord. Elevate your webinar using uno overlays today!